Alkmaar, Nederland. October 2020. The Second wave. Weathering.
Yep, they decided it was the second wave of this pandemic. Work from home, wear a mask, blah blah blah. Let's get on with weathering the u-boat shall we?
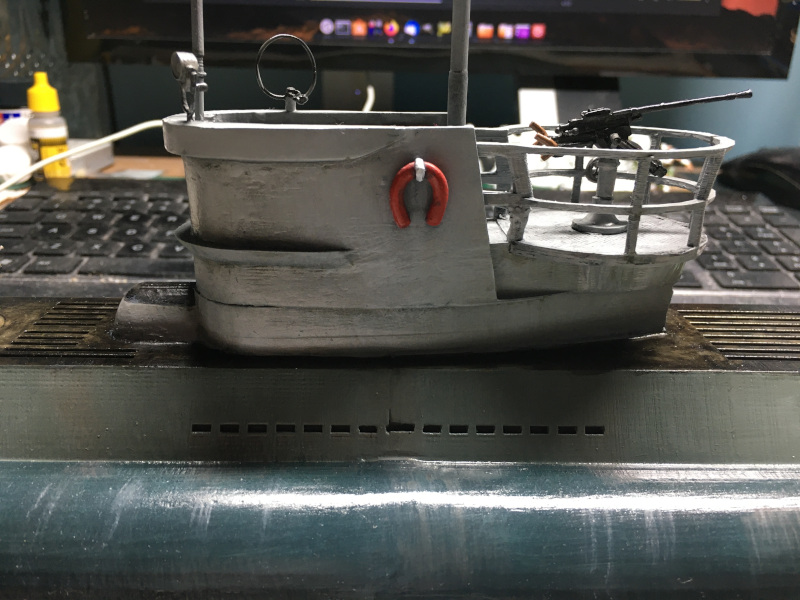
Since the varnish had reduced the look of the highlights on the saddle tanks I tried to use some of the AK-Interactive Weathering Pencils to get some streaks on there. Given the still obvious banding, I wasn't happy with the result.
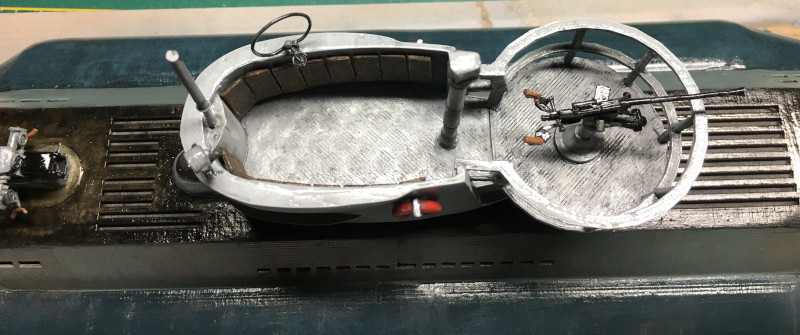
Begin with using some AK-Interactive Neutral Grey Wash over the hull elements. This was more useful on the conning tower deck as it pulled out the supposed metal pattern.
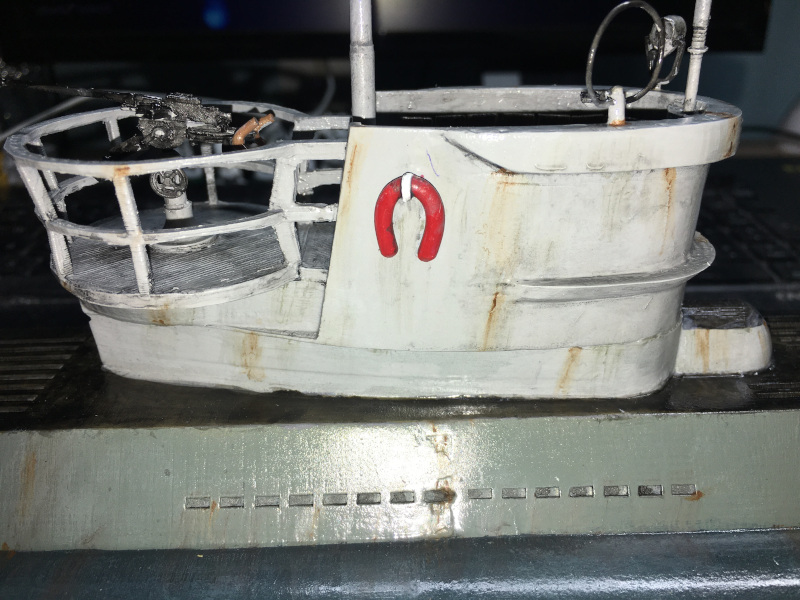
After the grey wash, I used a Streaking brusher from Ammo by MiG for rust marks. A little blob or line of the rust coloured oil paint in a suitable place, wait a little while and then using the AK-Interactive Streaking brush dipped in AMMO by MiG's odourless thinner to drag the paint into the rust streaks I wanted.
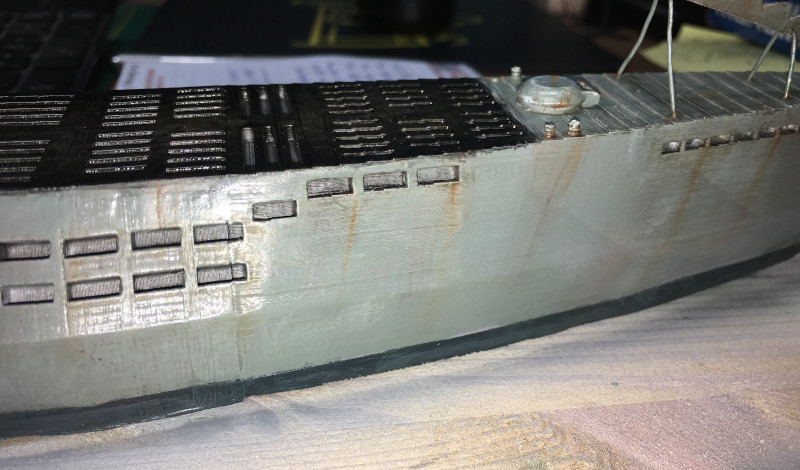
Placed at the bottom of the mooring posts, hatches, the cable cutter supports, and some of the water holes to give the impression that the u-boat has been at sea a few weeks.
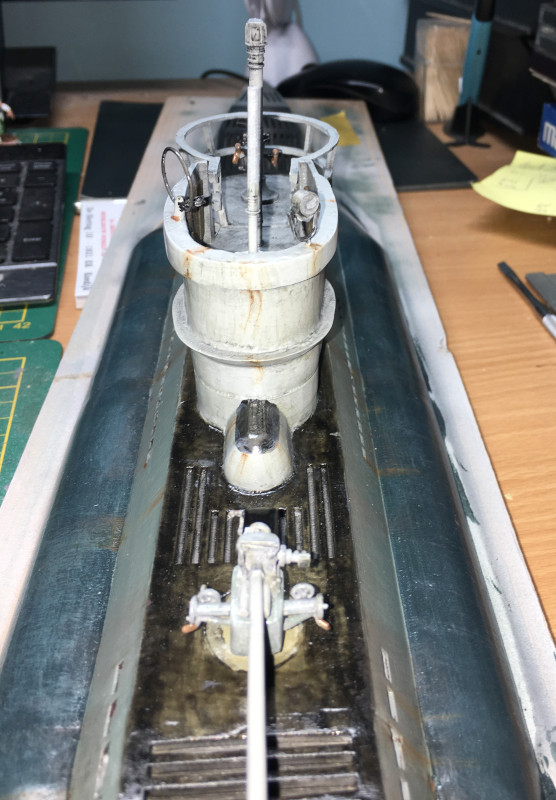
Streaks of rust on the conning tower were a bit more difficult to achieve, simply due to the size of the model and the positioning of my desk. I also decided to try and get some of the rust streaks running onto the saddle tanks.
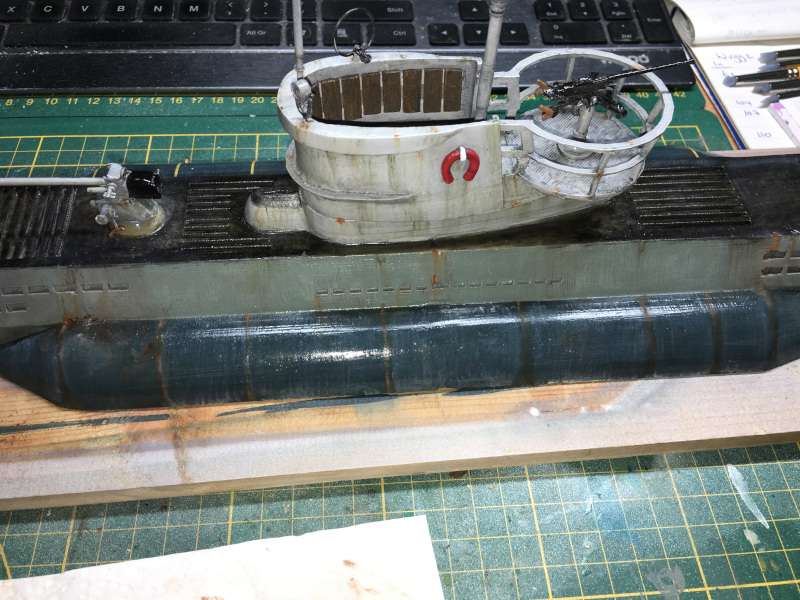
As well as building up layers of rust I also added some more grime using AMMO by MiG's Streaking brusher Starship Grime and Cold Dirty Grey colours. This was again more prominent on the conning tower, it being a lighter grey than the rest of the colour scheme. Although on the main hull it also gave an interesting effect. Less so on the saddle tanks. And the painted-on lines weren't cutting it. This is one of those instances where the lack of detail becomes a problem.
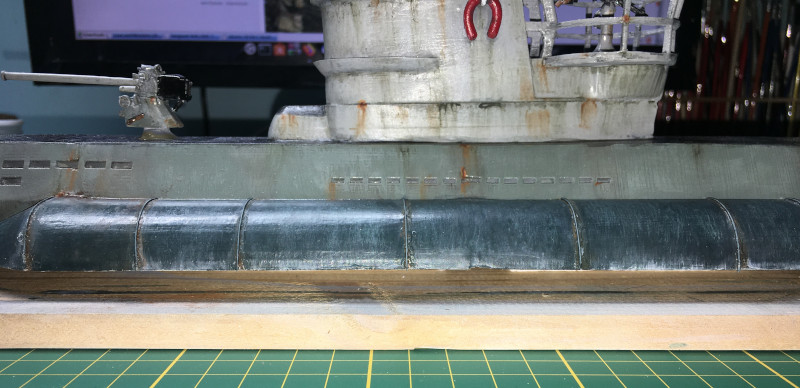
The only thing for it was to create my own panel lines. Now the panels on the saddle tanks of a u-boat are quite complex, so I wasn't going to go that far. I just wanted something to give the impression of the panels. For this, I used some thin wire, cut to length and glued down with super glue gel. The end pieces kept trying to pop up due to the bend of the saddle tanks. I had to press them down with a knife blade and hope it didn't stick to the wire. Once it was dry, I painted the wire the same colour as the saddle tanks. Now I had something to break up the saddle tanks and to help with the weathering effects.
Drunk on the success of the saddle tank solution and after I'd started on the base, I went full-on mental. What this thing needed was the cables at the front, I decided. So, all the photos of u-boats have the cables coming from the side of the conning tower to a point somewhere in front of the conning tower where a single cable proceeds to the cable breaker at the bow. I used the same wire that I'd used on the saddle tanks for the cables. A bit of bending here and there, glue this long bit into the top of the smaller bit. Connect the two ends to either side of the conning tower, trying to get them roughly at the same level. Then cut the long bit to length and glue it underneath the cable breaker. When dry, paint it black. Sounds easy.
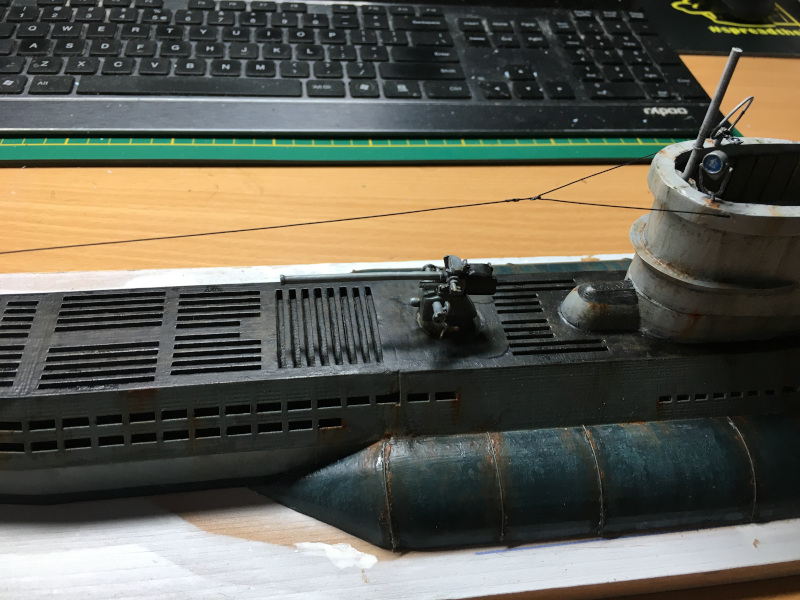
Now the u-boat is intended to be at sea, so there needs to be some sort of water effect in place. However, I won't be able to do that until the model is placed on the base. So the next task is to get the base done.