Alkmaar, Nederland. September 2020. Still under lockdown. Painting.
Okay, the u-boat is assembled, all the bits are on and we are now ready for the painting stage. To make sure I got the best coverage, I decided to undercoat the whole thing with the Fine Resin Primer from AK-Interactive. This gave the whole model a smooth, opaque covering which I hoped would allow subsequent coats of paint to adhere to. There's nothing worse than a top layer of paint not adhering to the coats below, or worse, easily rubbing off.
Due to the size of the model, I took it down into the garage to do the undercoating. One unforeseen problem was the distinct lack of masks to use for spraying protection. Since the government had made the wearing of face masks compulsory in public transport, and lots of shops demanded the same, they became as rare as rocking horse droppings. I did manage to find one at the back of the shelving in the garage, so that would have to do.
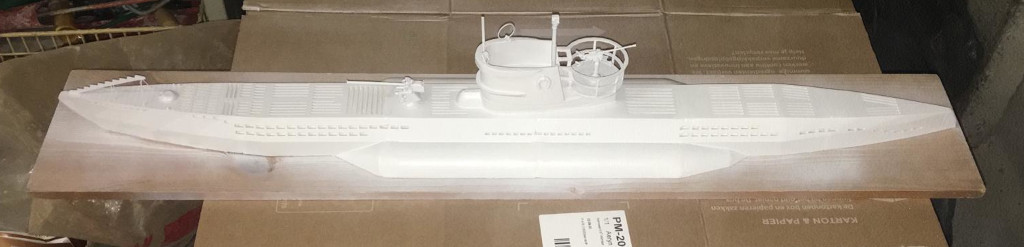
A full can used in multiple coats. This gave a nice covering.
Next, I used my airbrush and some AMMO by MiG One Shot Grey Primer to give the whole model another coat, one more in line with the colours that will be used. I was also hoping that this extra primer would help remove the worst of the banding lines that sanding had been unable to remove.
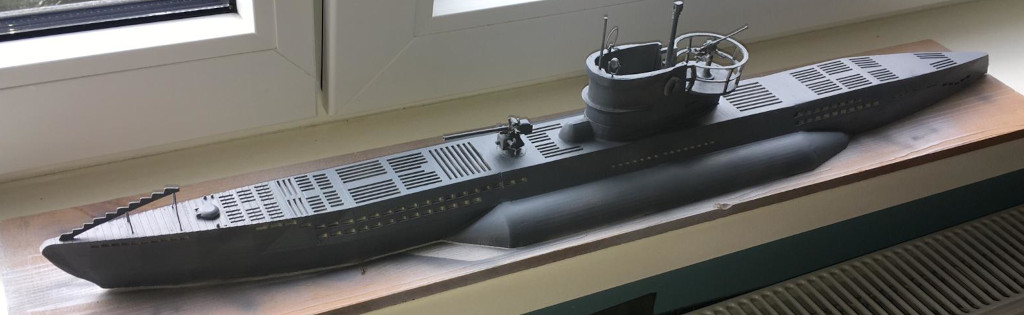
Now that is looking a bit better.
Still needed some touching up as the primer hasn't reached all the little nooks and crannies, especially around the slots and water holes.
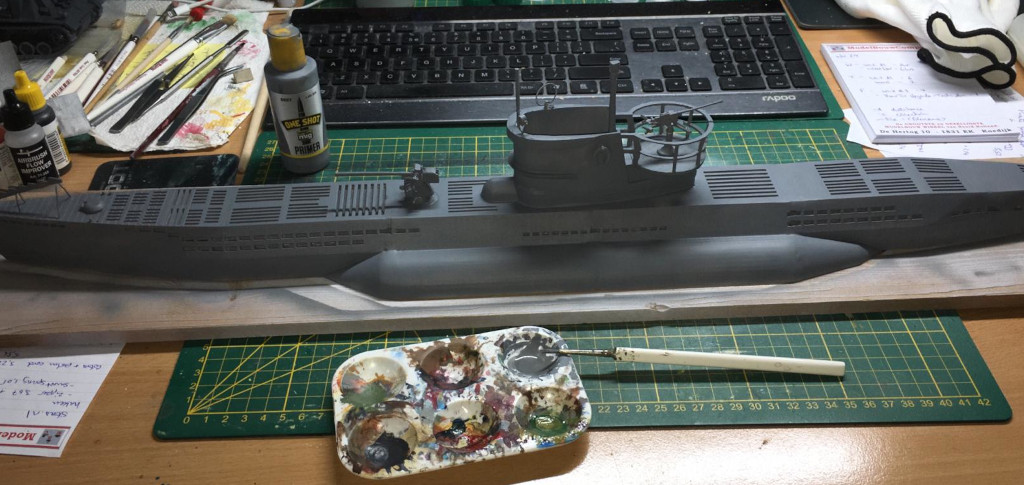
Better, not perfect, but with this project what is? However, it's good enough for now.
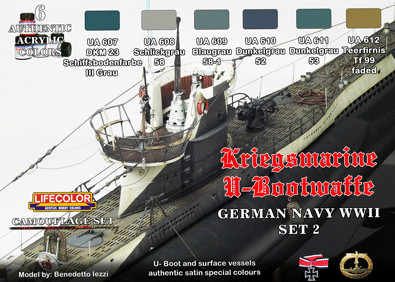
LifeColor produce a set of acrylic paints specifically for u-boats, German WWII Kriegsmarine U-Boat Set 2. This should help give the model an authentic look.
The next question was which colour scheme to use. Looking up colour schemes on the internet is fraught with problems. The vast majority of the photos are black and white and given that most schemes were variations on grey, it becomes someone's educated guess. One thing that became clear was the fact that the deck was mostly wooden. This wood was treated with a preservative that made it appear black, but which soon wore off, leaving the brown colour of the wood exposed.
Also, a camouflage scheme would be specific to an individual boat at a specific point in time. I didn't want to do that. I needed the model to be a generic u-boat, therefore no camouflage scheme and no individual or flotilla markings.
With that decided, time to get the airbrush out and begin the job of getting the base colours down.
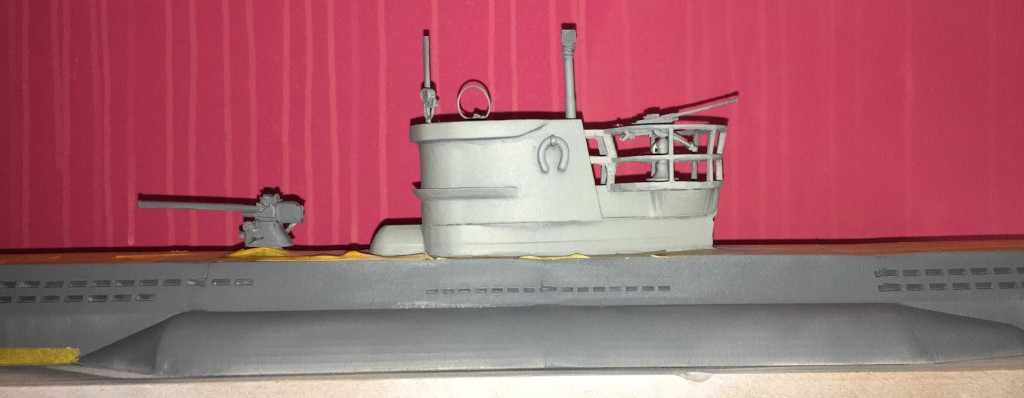
First I used Army Painter's Ash Grey for the conning tower. The Lifecolor set didn't have a grey this light and I wanted the conning tower, hull and saddle tanks to be different colours.
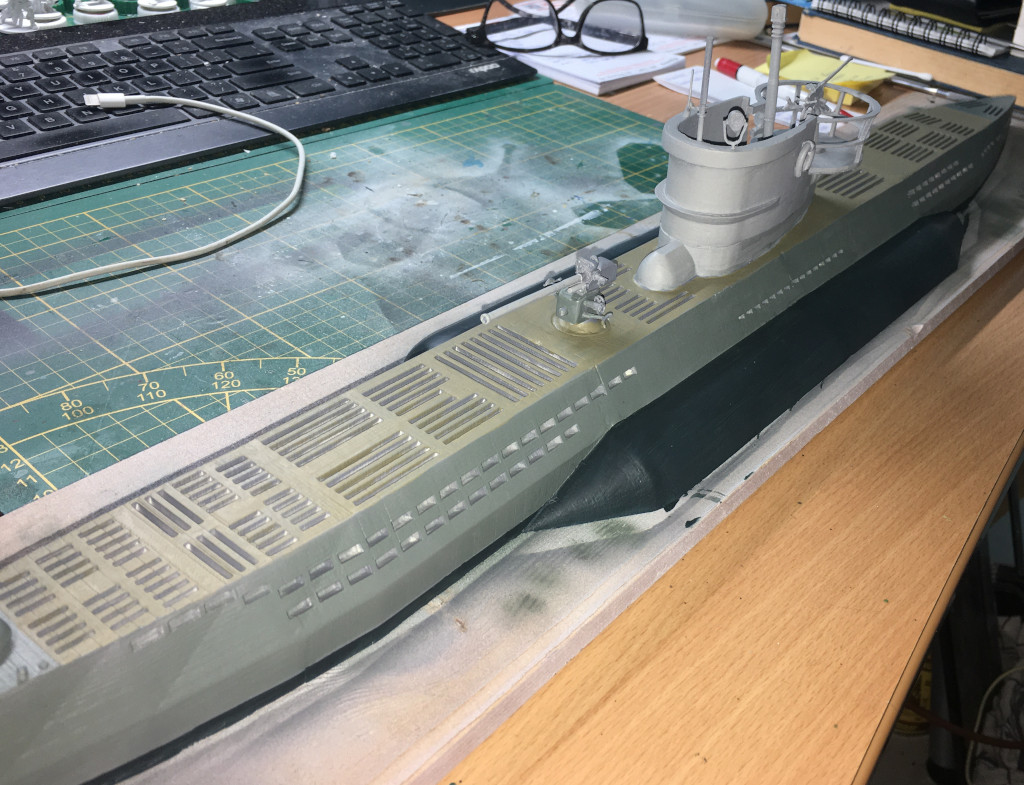
Here you can see the rather strange pattern on the hull due to the way the model is created. Anyway, the saddle tanks are DKM 23 Schiffsbodenfarbe Grau III (yeah, try saying that after a few beers). The hull is Schlickgrau 58, and the wooden decking Tf99 Teerfirnis Faded all from the Lifecolor set.
Next, I began painting some of the details, such as the AA gun and the lifebuoys attached to the conning tower. These lifebuoys would be the only bit of colour on the model so would naturally draw the eye. I'd have to rely on the weathering stage to tone them down if they became too noticeable.
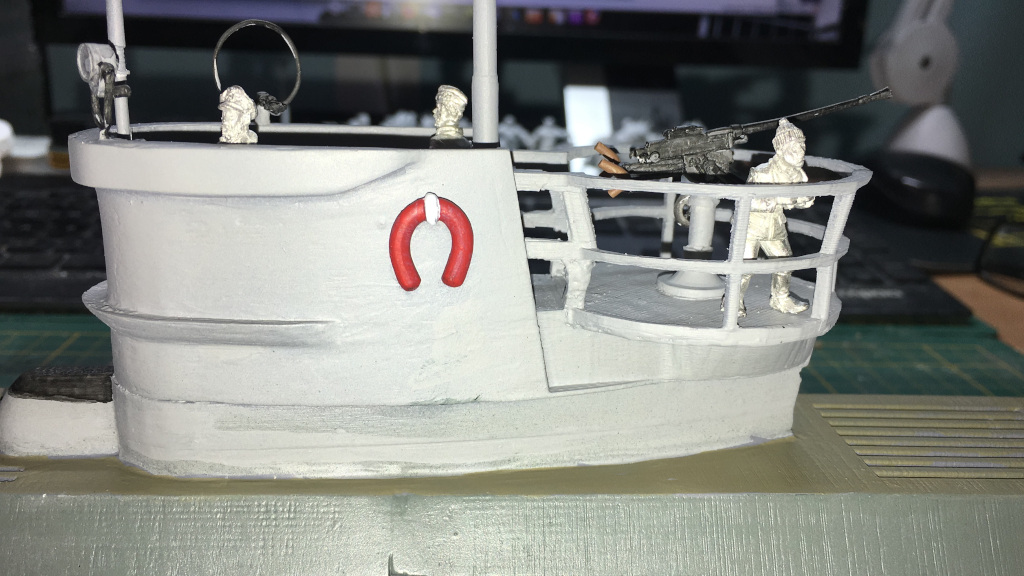
A couple of the crew figures placed just for reference and scale.
The model, being a gaming piece, lacks some of the typical u-boat detailing that a diorama piece should have. One such detail missing was the wooden planks lining the inside of the conning tower. At the moment the inside of the conning tower is just too plain. There was no option but to scratch build some wooden planking. Once again my ideas outstripped my talent. Wish I'd never bothered with it, not for the first or the last time. Balsa wood strips, suitably scored were stained and then glued to a thin piece of card. A lot of messing about finally saw the boards in place.
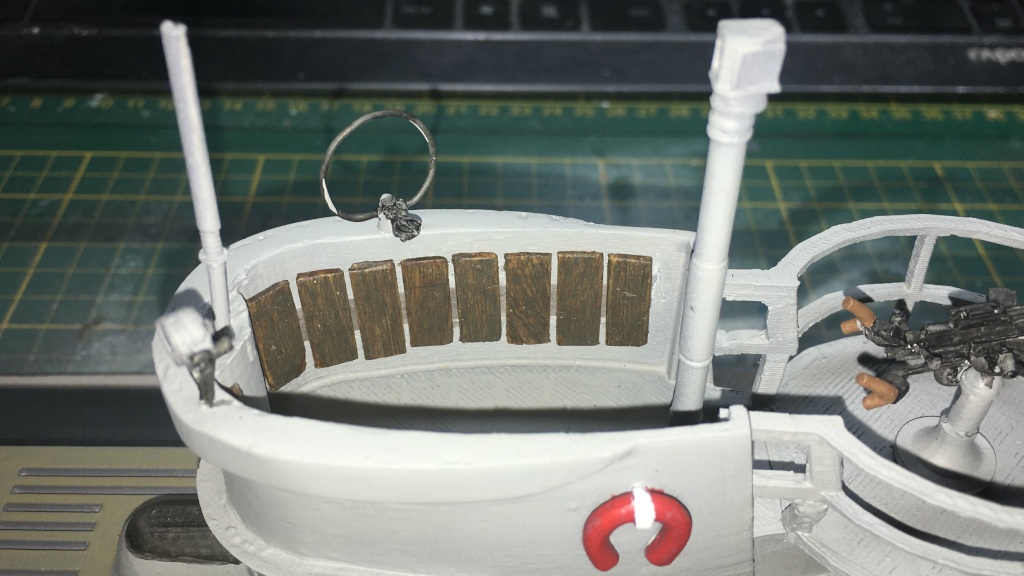
Not perfect by any means, but it gives the representation of the wooden boards and since the model is a representation of a u-boat, it'll have to do. I just hope that the weathering stage hides most of the problems. Actually, I was saying that more often as the project progressed.
The breach of the deck gun is painted black, as is the top of the sonar housing. The decking also gets stained to try and bring a bit of variation into the fading of the wood. Besides, I didn't want the u-boat to appear as if it had been on a 6-month cruise.
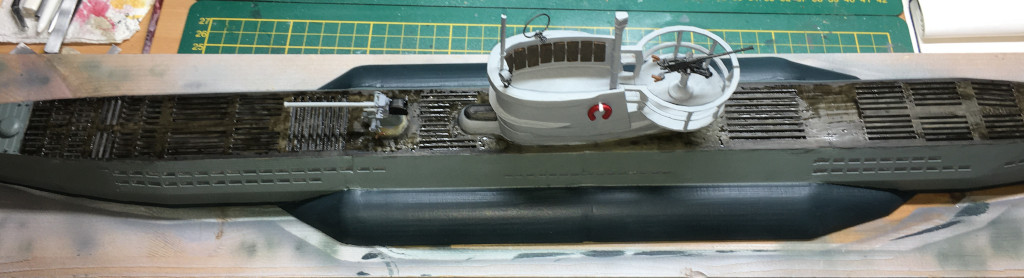
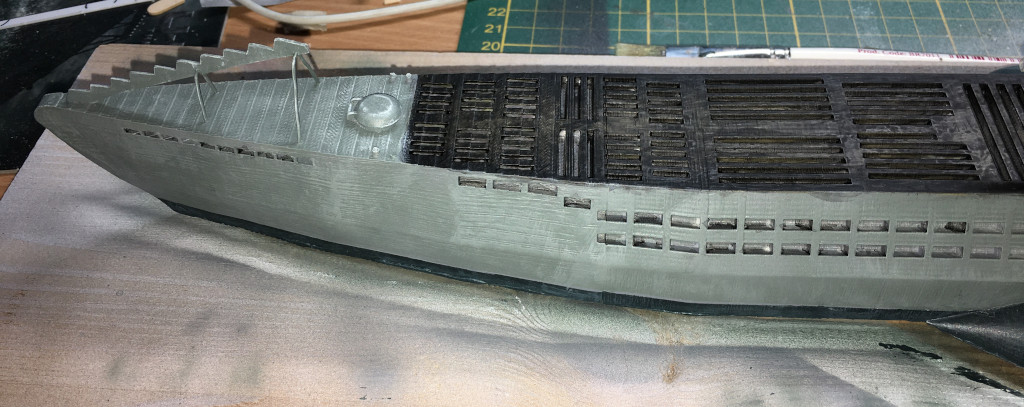
The base colours on the model are done. A light dry brushing to relieve some of the monotony of the solid colour on the saddle tanks and the hull was then performed. This created some highlights to give it a bit of depth. The hatches and the cable cutter received a little bit of extra attention. Would it be enough though?
The final step, before beginning the weathering process was to apply a nice coat of Glossy Lucky Varnish from AMMO by MiG. This provides a nice base for a lot of the weathering techniques that will follow and allows for mistakes to be easily corrected back to the painted stage.
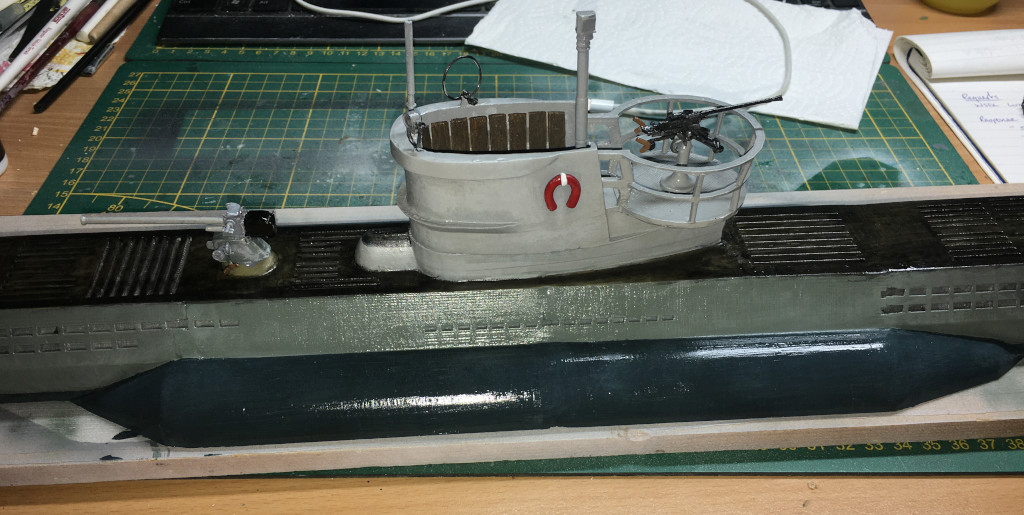
And most of the highlighting disappeared. Typical. See what the weathering can do to pull it back to something more realistic.
I had been keeping the guys updated with the progress on Mischa's u-boat, sending the odd photo and complaints via WhatsApp. Considering he'd already waited nearly 3 years, he started to get a bit too excited. And believe me, an excited Mischa is not something you want. Anyway, one of the little extras that are included with the Empress Miniatures kit is a small periscope sticking out above some waves. A nice representation of the submerged u-boat.
After a week or so of no messaging or updates, I announced that Mischa's u-boat was finished, strung it out as long as possible and finally sent this photo.
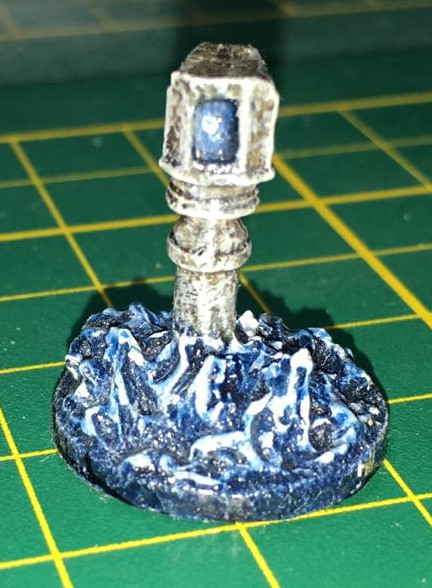
 Couldn't help myself.