Alkmaar, Nederland. August 2020. In the middle of the COVID pandemic. The Build.
Having seen the problems in the last update, how was I going to get this model to look like a model so it could be used in a diorama, instead of as a gaming piece?
Well, since it was a resin kit, the first stage was to give everything a good wash in soapy water so that any chemicals left on the resin wouldn't have a chance to bugger up the painting process. Been there before and didn't like the result. It was also at this time that I attempted to get the various hull pieces to align with each other. Hot water didn't work, neither did a heat gun, I was quite worried about wrecking the model or inhaling noxious fumes from hot resin. Unfortunately, whatever I tried I believe the only way it would have worked was if I had managed to turn into an octopus for the task.
So, the first stage was to mark where the hull parts should be on some card. Then using quick-drying superglue put the two pieces together in the correct position and grip like buggery. Once the superglue had taken hold a quick blast with the hot glue gun on the underneath of the parts just to make the join more solid. Once that was done, add the next hull section. Rinse and repeat.
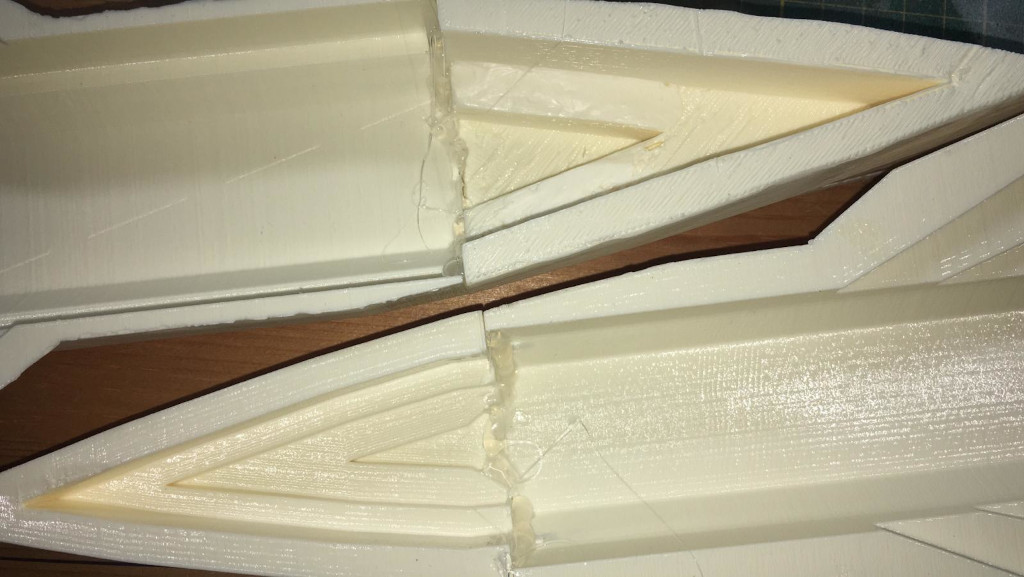
The bow and stern sections connected to their hull pieces. Clearly visible is the copious amount of hot glue used to ensure a permanent fit. And I didn't manage to burn myself or glue my fingers together once.
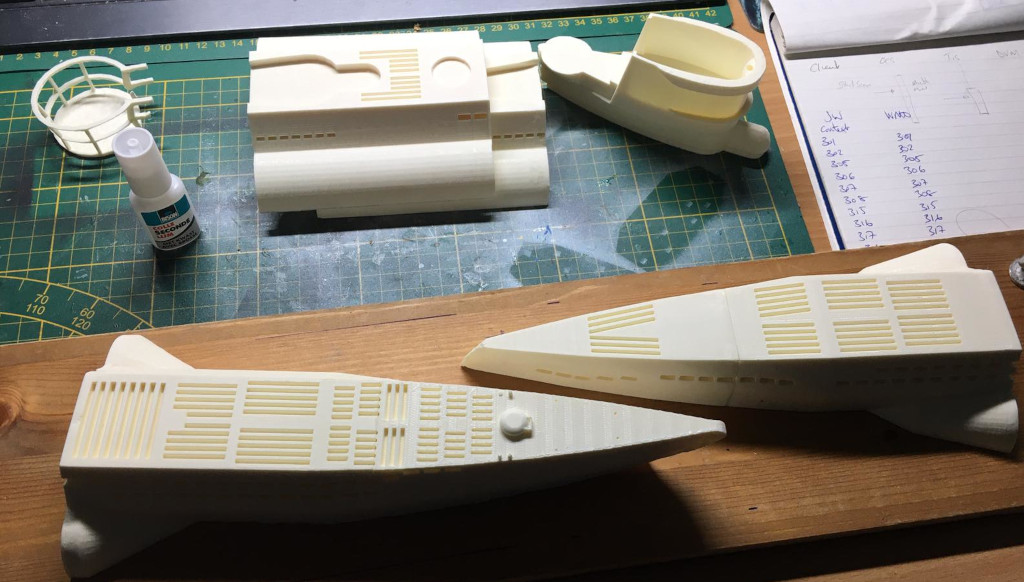
Minimal gaps or misalignment on these two sections. That problem comes with the middle sections of the hull.
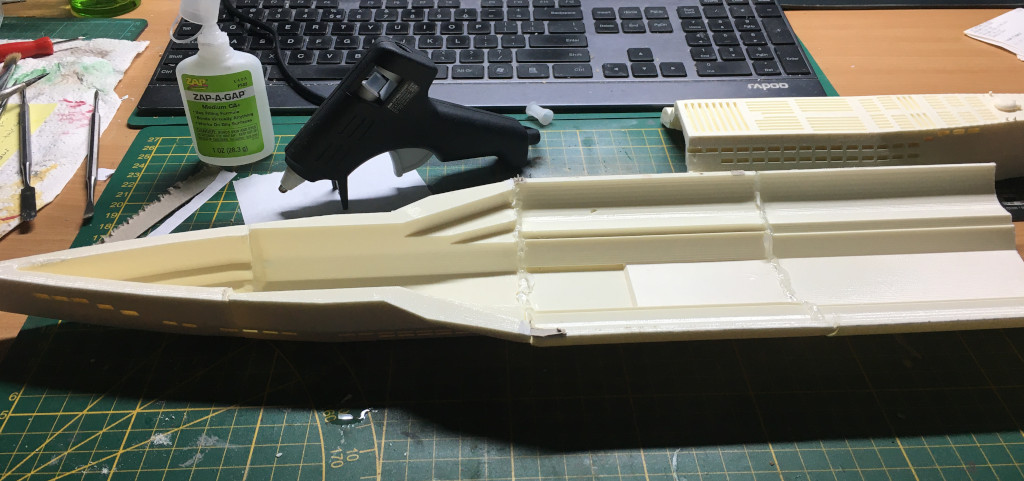
On the above photo, you can see the different thicknesses of the resin on each hull section. This is another thing that made the assembly troublesome. The differences between the two middle sections were really pronounced. In the end, I had to make the differences in height and width as small as possible while allowing the whole hull to look decent. Choosing which would be the easiest to correct or hide in the diorama.
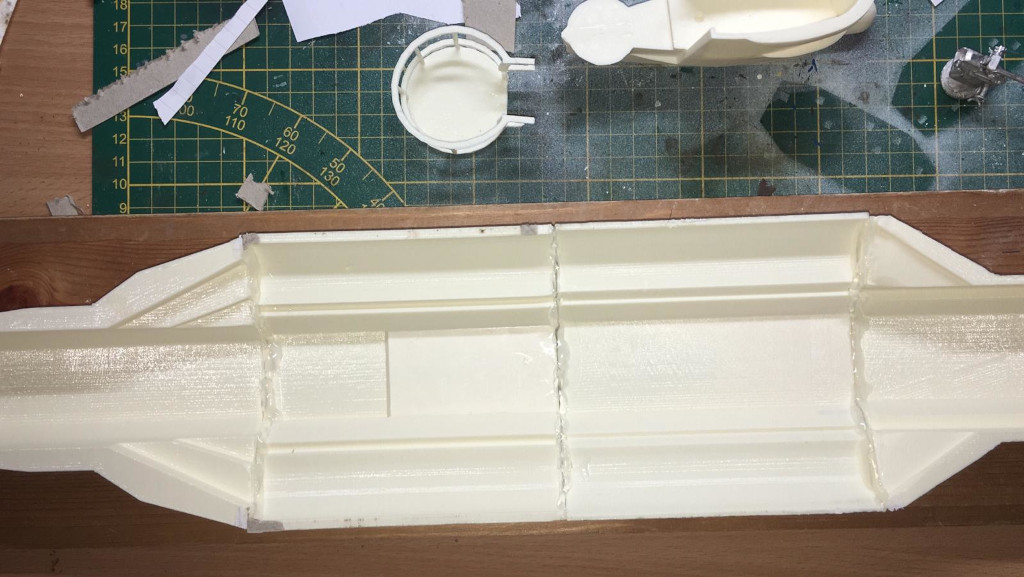
All sections of the hull connected. From the underneath, the hull pieces look nicely aligned. From above, it's a different story.
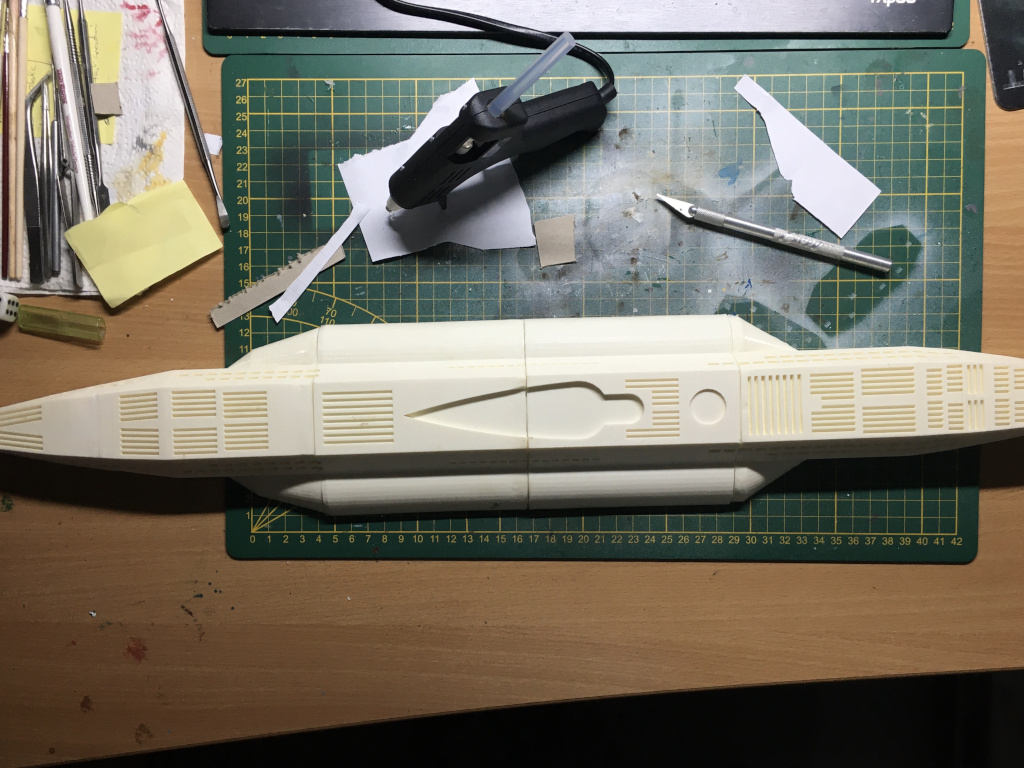
You can see above that the outline of the conning tower doesn't match up on each side. What you don't see is the height differences between some of the sections. As I said previously, this is most pronounced on the middle sections. I'm going to need more Milliput.
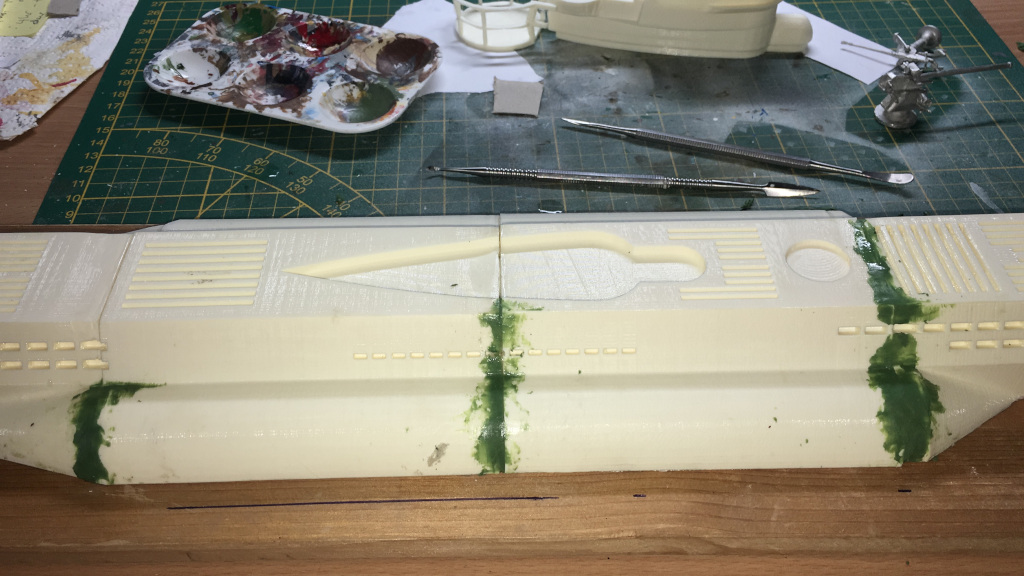
I ran out of Milliput but luckily found some Green Stuff which I used to fill the rest of the gaps and try and get a reasonably smooth transition between the different hull parts. The height differences are easier to see in this photo.
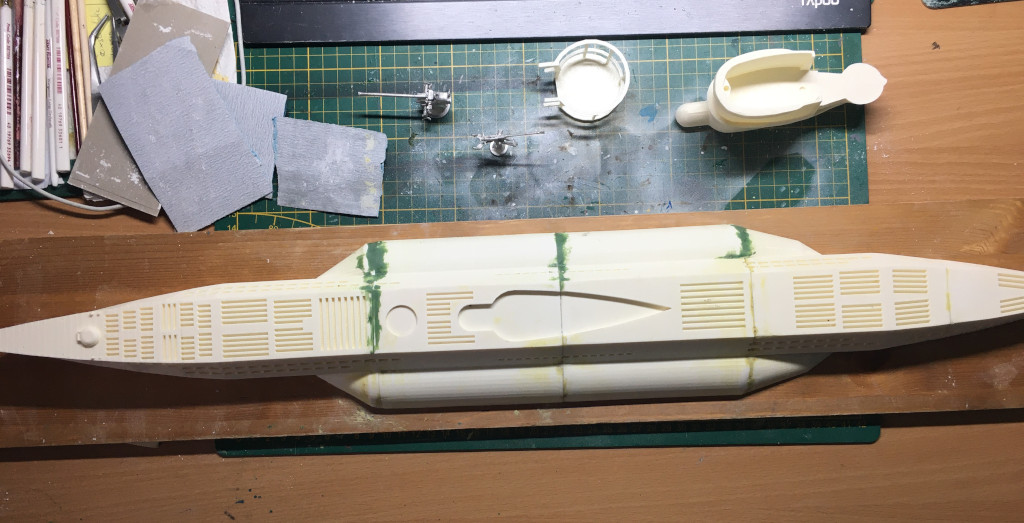
Now that all the hull sections were firmly attached to each other I needed to place the hull on a piece of hardwood I had lying around the place. I didn't want to risk dropping the hull or banging it against something and having it come apart. Especially after all the trouble it had taken me to assemble it. From this point on, everything done on the model had the hull on this piece of wood. As can be seen, it's big. This meant I had to find somewhere to store it out of the way where it would be safe whenever I wasn't working on it.
Once the gaps had been filled with Green Stuff or Milliput, I sanded them down trying to get it as smooth as possible. I also took the opportunity to remove the worst of the banding on the saddle tanks. Between all this, I assembled the deck gun and the AA gun. Fiddly little metal parts, especially after dealing with the enormous hull parts.
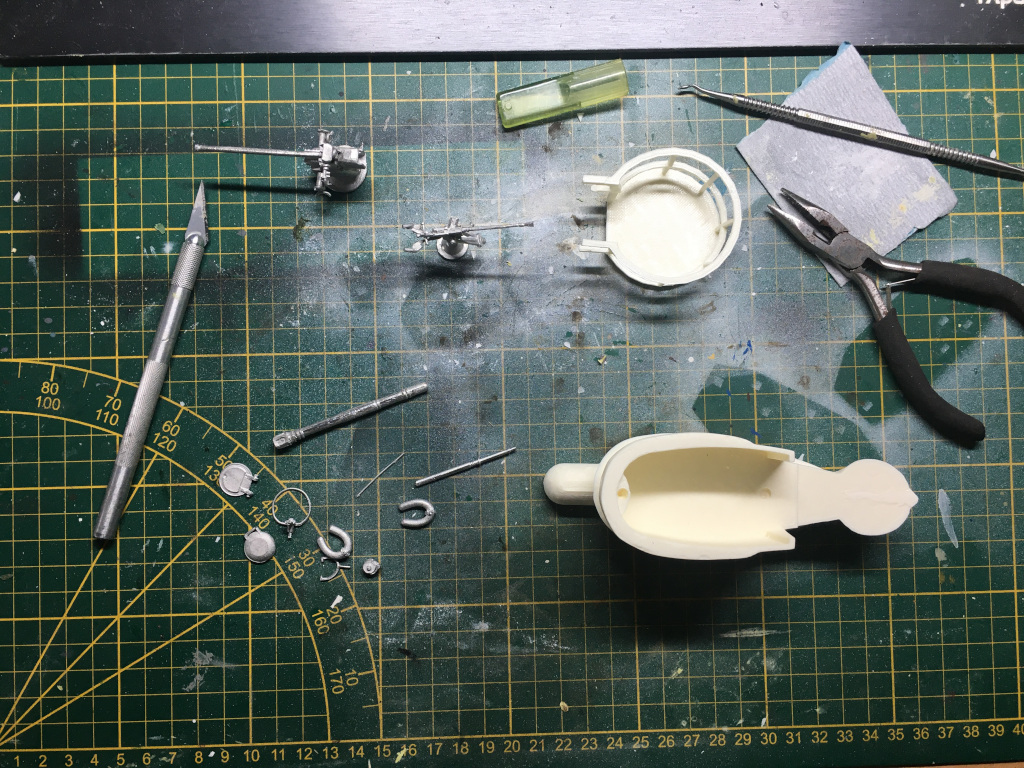
Something that didn't take up a lot of room was the conning tower assembly. I worked o this while waiting for the Green Stuff and Milliput to dry on the hull. I've already mentioned that the metal parts were really fiddly. Plus the kit doesn't contain any instructions. The Empress Miniatures Assembly Guide Facebook page does have several photos to help with the assembly of the deck gun and the AA gun.
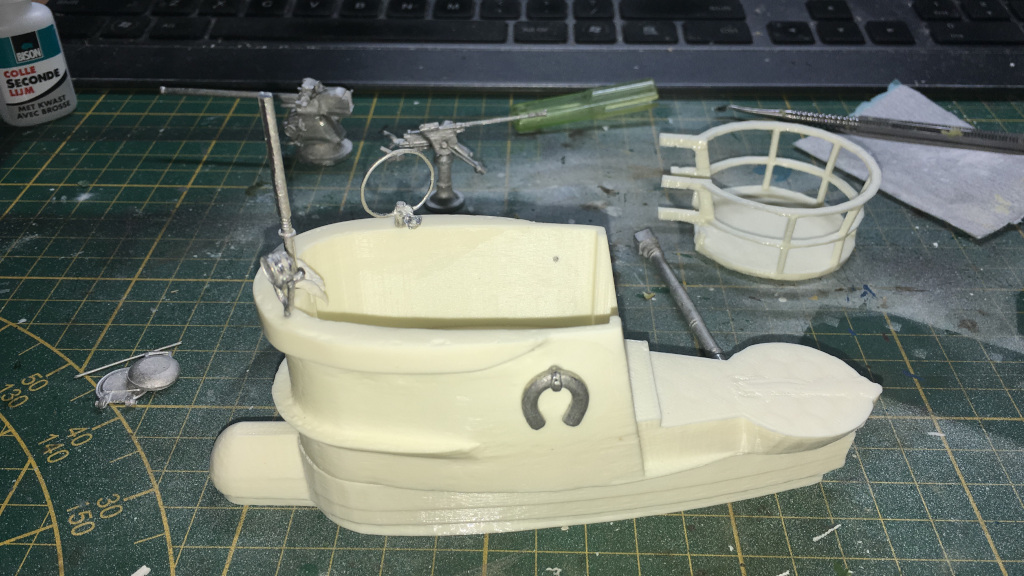
The metal fiddly bits for the conning tower were attached to the tower once any flash or mould lines had been carefully removed. The u-boat is a generic type, a representation of a u-boat if you will. So, which bits go where? I decided that the model was more of a Type VII than any other type, so went with that. Lots of searching photos of actual u-boats for information and where that failed looking at scale model kits to see where they had them placed.
I attached the lifebuoy things and a few days later read somewhere that they were removed when the u-boat wasn't in the harbour. Marvellous. Anyway, nothing to do about it now.
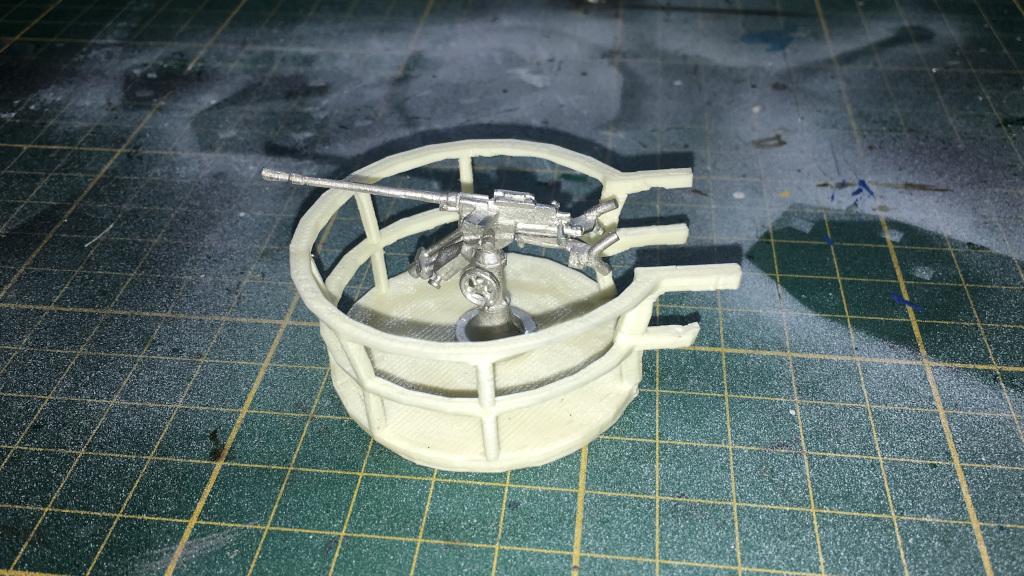
The above photo shows the test placement of the AA gun, prior to attaching the gun nest to the conning tower. As I mentioned in the previous post, the AA gun nest was a bit of a pain to clean up and the connecting struts to the conning tower sort of shattered into multiple pieces no less. I managed to sort of glue a few of them back into place. The one bit that had disappeared I had to use some Green Stuff to make the structure complete.
The conning tower needed some significant sanding on the underneath so that it didn't protrude too much from the hull. It was then glued to the hull before the gun nest was attached, I didn't want to risk breaking it again. Once the conning tower was attached and the gaps filled with green stuff and sanded as smooth as possible, the remaining metal parts were added to the conning tower. As well as the AA gun nest, this included the periscopes, searchlight(?), and what looks like a round antenna.
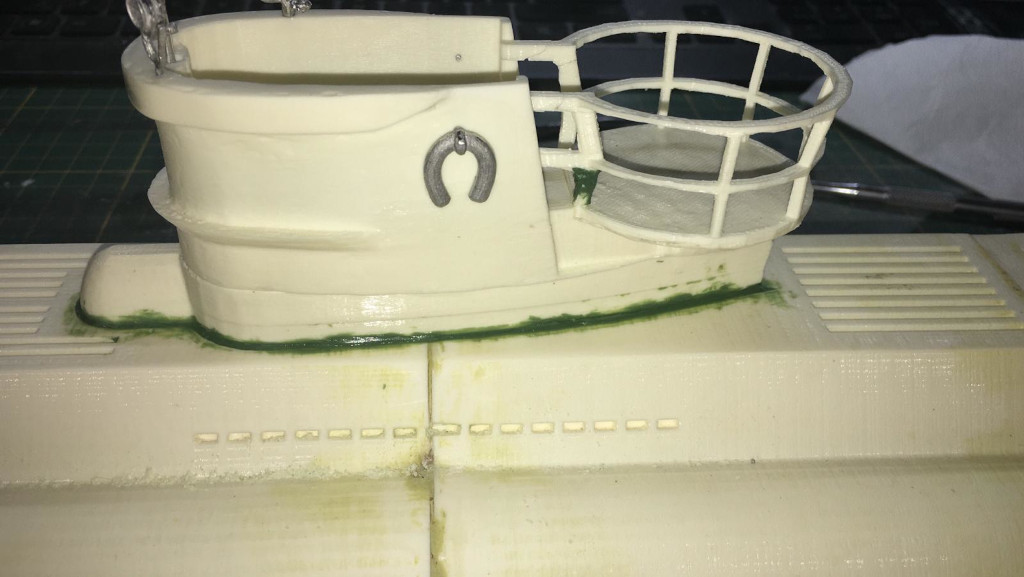
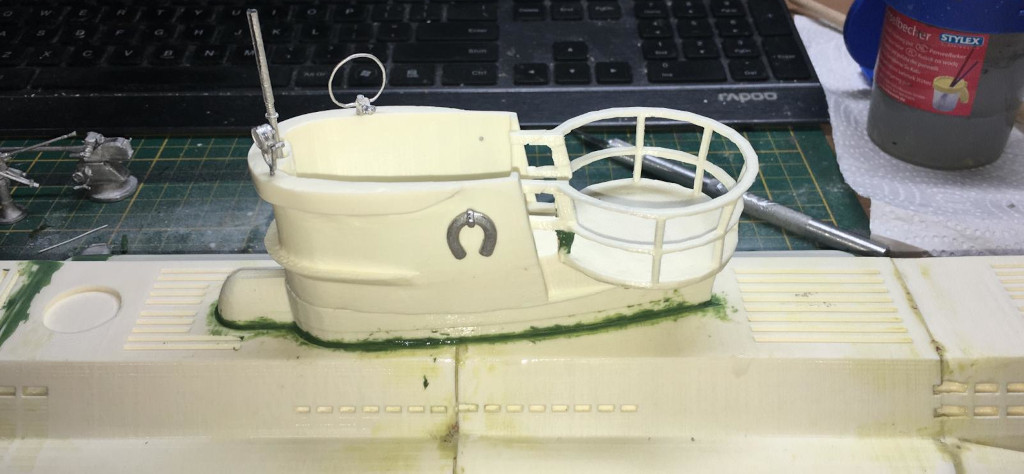
Two views of the conning tower attached to the hull. In the second photo, you can see the Green Stuff used to try and smooth the height difference between the two sections. The Green Stuff replacement for the missing/broken strut is also clearly visible.
The last thing to be attached was the cable breaker at the front of the boat.
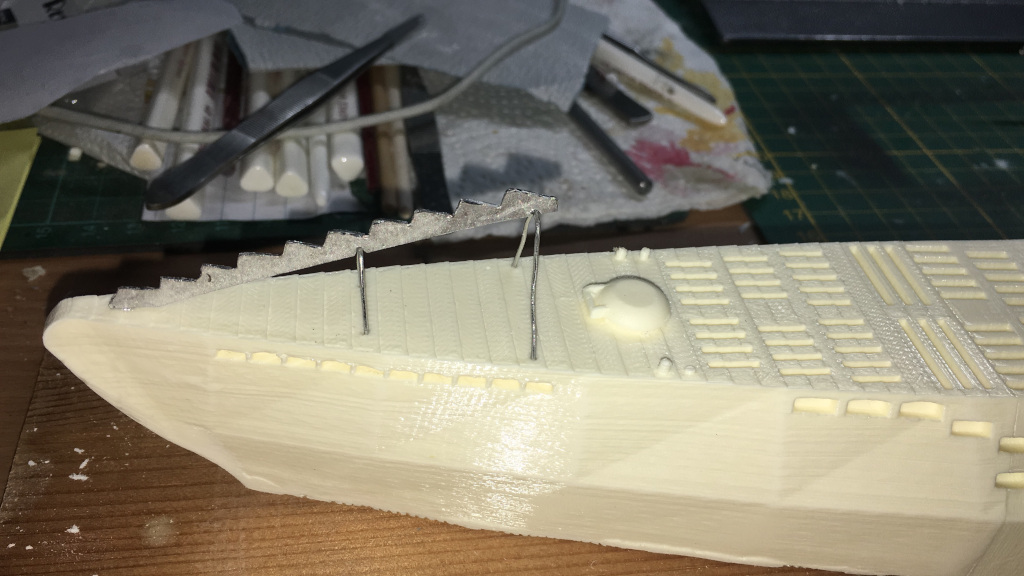
Here you can see the rather strange structure on the hull. Not sure what to do about that as yet.
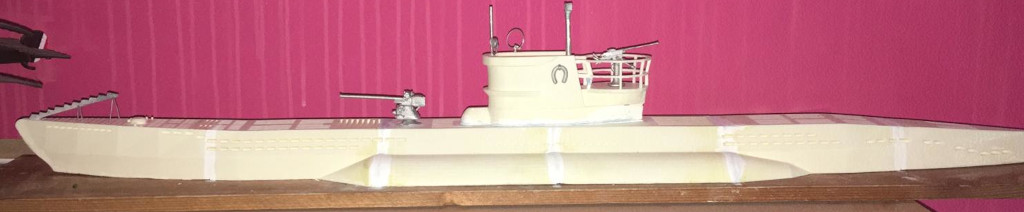
After sanding, I painted over the joins with white paint so that I could better see if it was smooth enough. Satisfied that I couldn't get it any better, it was now ready for painting.