Alkmaar, Nederland. November 2020. Winter is Coming. The Base.
The biggest problem was obvious right from the start. The model is over 73cm long. This means that the base needs to have enough room for the model and to show some of the scenery around it. I informed Mischa of the potential size of the base and he was a bit ... surprised. It needed to be a little bit smaller. Something I needed to take a look at in the design stage.
I'd found a really good Youtube video of a guy making a realistic ocean diorama with a submarine. Admittedly, his u-boat was only 1/350th scale and not a 73cm long behemoth. But, I thought that the techniques he used should also work for Mischa's u-boat. As such, I made a little proof of concept.
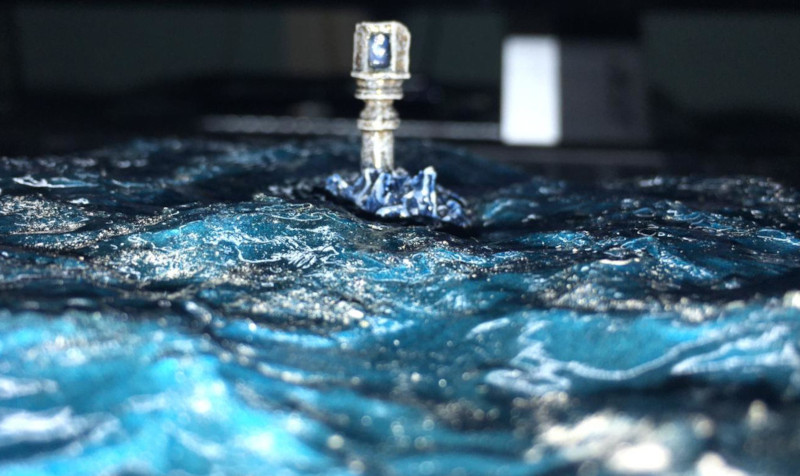
With the partially submerged periscope placed on the test piece, the result looks good enough so that I'm confident it will work for the beast.
Mischa wanted the u-boat coming out of the water, breaking the surface at a sharp angle. Unfortunately, that wouldn't be possible with his u-boat because this kit is a waterline model, so it only has what would be visible above the water. I may be willing to try the odd bit of scratch building for panels and cables, but the bottom half of a u-boat's hull is a little beyond me. I looked on the internet for photos of u-boats at sea for some inspiration.
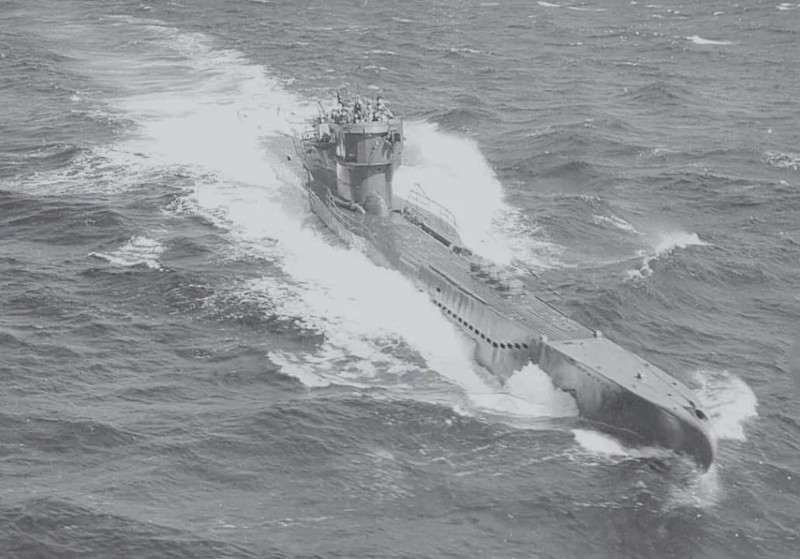
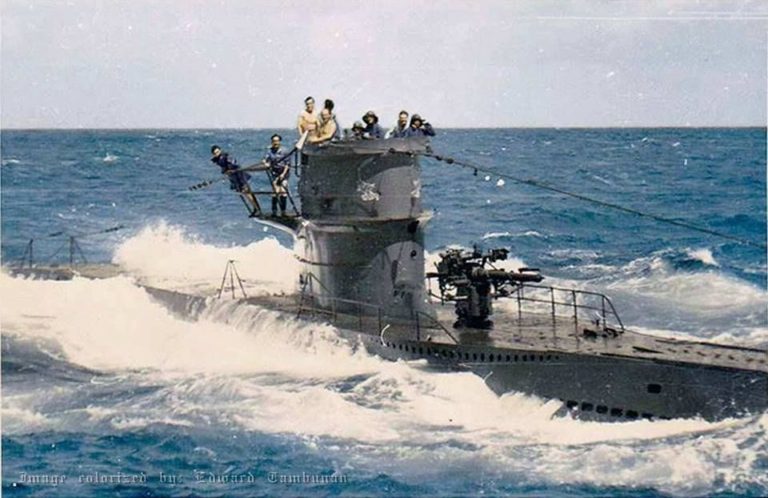
These are the two images I settled on to help with my attempt to build the base. Now the base had to be narrower than originally planned, so the amount of white water will need to be reduced somewhat.
The layout. Three pieces of blue XPS foam, pinned and glued together will form the basis for the scenery. The u-boat will be moving diagonally across the base, but just a few centimetres off corner-to-corner. This should give it a dynamic appearance without being contrived.
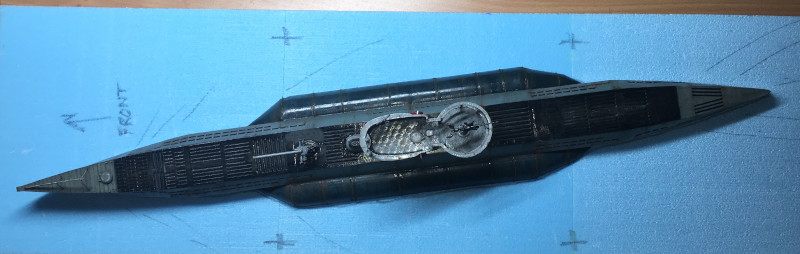
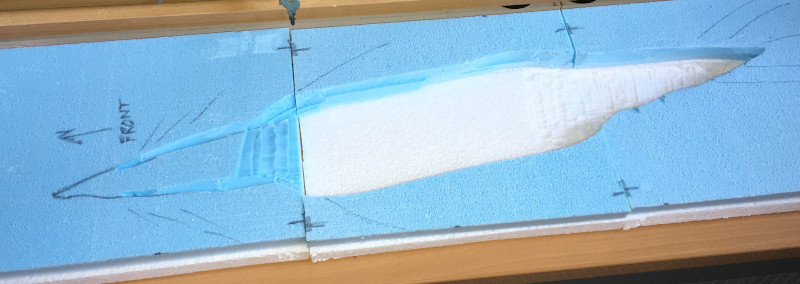
My plan was to try and simulate a gentle breach of the surface by making the stern of the u-boat lower, and the bow higher, than the rest. I didn't have enough blue foam, so used some normal polystyrene sheets I had lying around to build up the base. I then cut into this foam base so that the u-boat would sit in there at an angle. Hopefully giving the impression that it was just surfacing, or at least running in choppy waters. To aid the stability of the base, I stuck the foam onto a piece of hardboard. Now I wouldn't have to worry about the foam snapping as I moved the base from place to place.
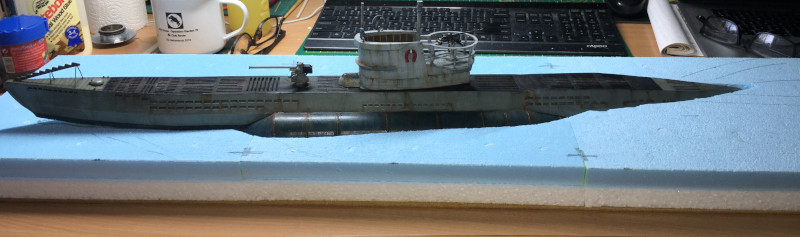
After several attempts, I finally had the u-boat in the most suitable position. The arse is sticking in and the nose is sticking out. Whilst doing this, some of the panel wires decided to pop-off at the bottom of the saddle tanks. I had to cut then down so there was no overhang of the bottom of the tanks and glue them back on. Now I needed to make sure that the scenery would cover the mess of these panel lines at the bottom of the saddle tanks.
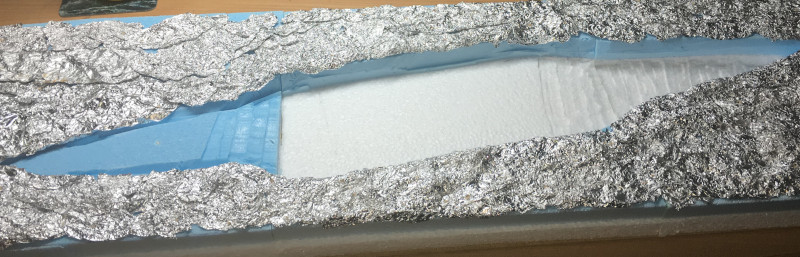
The particular method I used to create the seascape involved glueing pieces of scrunched up tin foil onto the foam base with PVA glue. Once that is done, another test fit of the u-boat is needed to identify any areas that need to be altered.
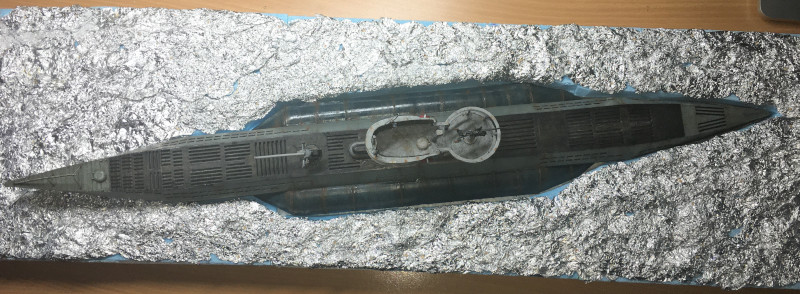
At this time I did not realise that the sides of the hole for the u-boat were a bit too wide. Wide enough for me to fit the u-boat in without breaking anything, but leaving a gap that I'd need to fill somehow later. This was purely due to me missing a step of the process from the video. Ah well, shit happens.
The scrunched tin foil has lots of sharp points which isn't too realistic for a seascape. The next stage in the process is to glue a sheet of tin foil over the whole base, pressing it down onto the scrunched pieces below.
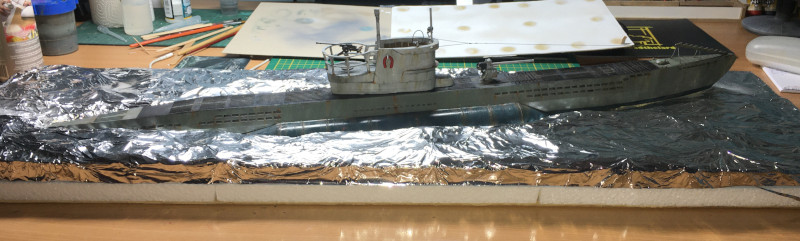
The base was too big for a single sheet, so I had to use two, running diagonally so that only at the bow and the stern was the join visible. On reflection, I should have pressed the sheets down harder onto the tin foil below. Another dry fit of the u-boat showed that there were no new problems. The u-boat was then removed and the whole sheet of tin foil covered with a liberal amount of PVA. This helps to protect the tin foil and also serves to flatten out most of the remaining sharp edges.
Once the PVA had dried, the base was undercoated with Mr Finishing Surfacer 1500, which not only primes the tin foil but also helps smooth out the surface. Then Tamiya XF-17 Sea Blue was airbrushed in a chaotic manner so that it wasn't an opaque layer but had a more mottled look. Once I was happy with the effect, I airbrushed Tamiya XF-22 Clear over the whole base. This gave it the required glossy look. When that had dried, Tamiya X-23 Clear Blue was airbrushed over the whole base. This had the effect of giving the base a blue tint. Then, just for the hell of it, I airbrushed another layer of Tamiya XF-22 Clear.
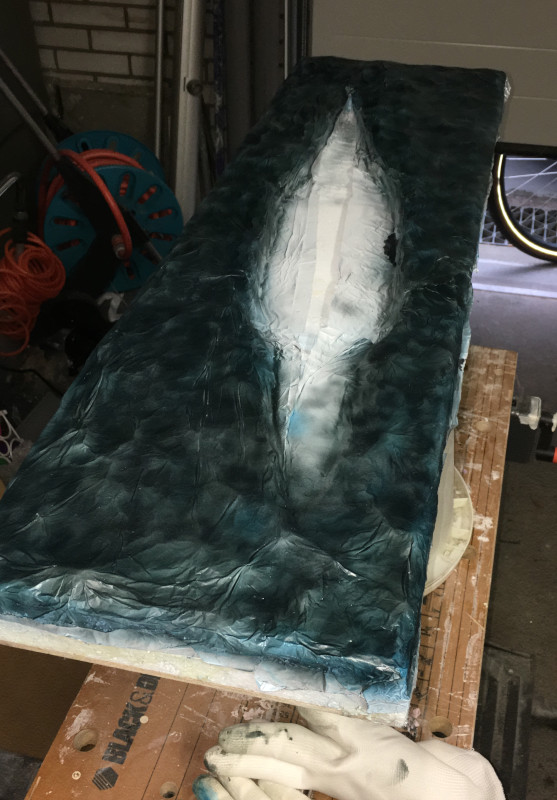
This was all done down in the garage, with the door open. This stuff isn't acrylic paint and the fumes are nastier and stronger than the paints previously used.
The next step is to fix the u-boat to the base. I left doing that for a while, once the u-boat is placed on the base, there's no going back. This is one of the many, shit-or-bust moments in the project. Besides, I needed some sort of frame around the base so that the edges of the foam would be hidden. Of course, there were no commercially available frames in the size I needed. So, I had to build one myself.
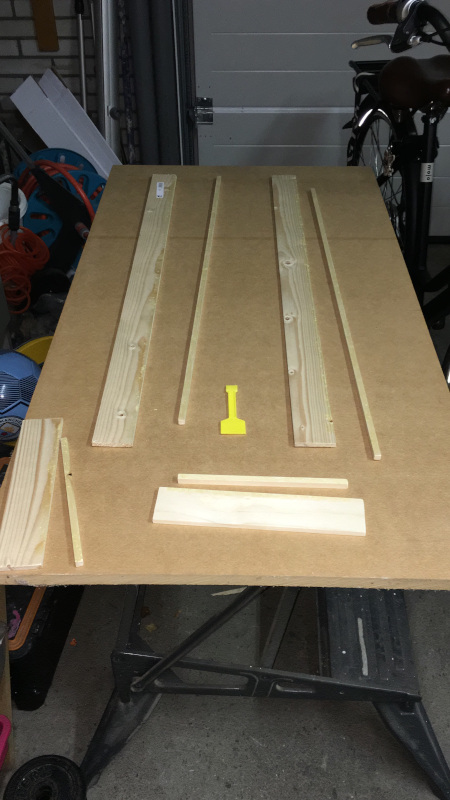
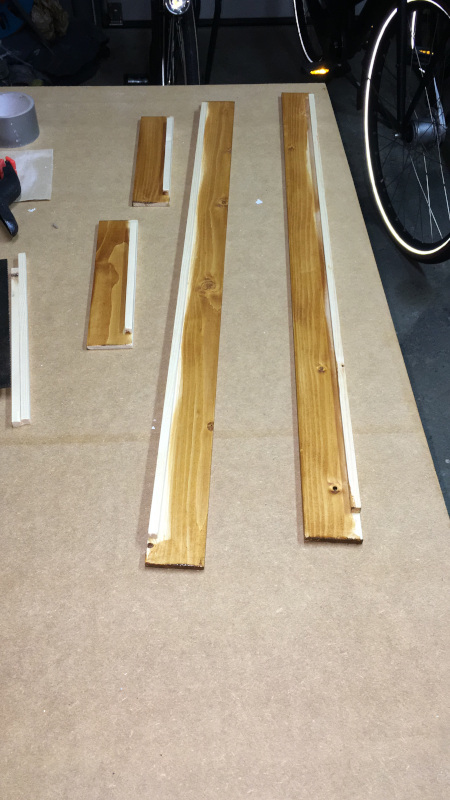
I bought a few lengths of a suitable sized hardwood from the local DIY shop, along with some smaller strips that I would use to lift the base to the desired height within the frame. Careful measurements were taken of the actual base and the frame elements then cut to size. The strips to raise the base to the right height in the frame were glued to the various sides and the internal sides varnished. Then the top side of the frame was glued to the two sides, the base slid into place before the bottom side of the frame was glued to the sides, thus completing the frame. The wood wasn't exactly straight, and to be honest, neither was the foam base so numerous clamps were needed to keep the frame in place while the glue set.
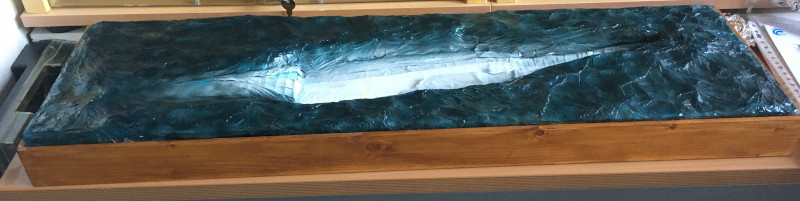
All gaps in the frame were then filled with wood filler and once dry sanded. Then the whole frame was given a coat of varnish. Didn't look too shabby once it was done.
The u-boat was then placed into the base and artists Extra Heavy Gel Medium was used to fill in the gaps between the u-boat and the base. This was obviously easier at the bow where the gaps were quite small. Alongside the saddle tanks, the gaps were somewhat bigger and needed several applications to give something solid that I could build on. This was it. There was no way the u-boat was coming out of the base without wrecking one or both.

Looking at my reference photos, I saw the amount of white water around the u-boat. This is what I needed to replicate, maybe not as extreme, but the general impression needs to be there. Cotton wool pieces pulled into strips and then pushed into place and secured in place with more of the Extra Heavy Gel Medium. This made a bit of a mess of the brush I used, but the effect was worth it. The more of the gel used, the more the cotton wool stretched out and became sort of transparent.
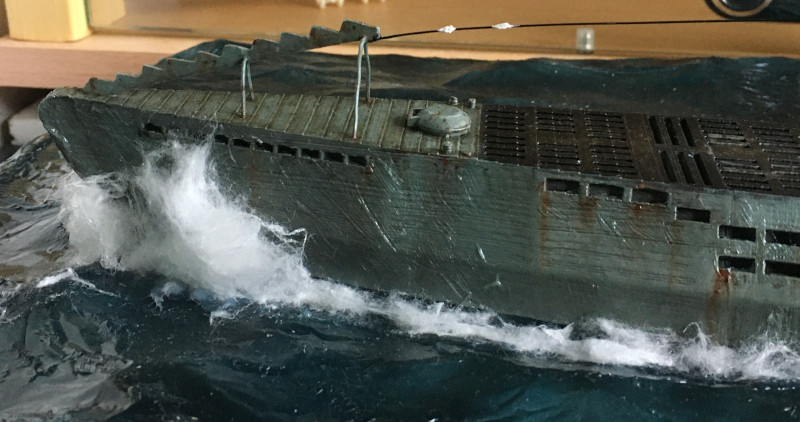
A big piece used as a bow wave and more Extra Heavy Gel Medium brushed on part of the hull to simulate water rivulets streaming down the sides.
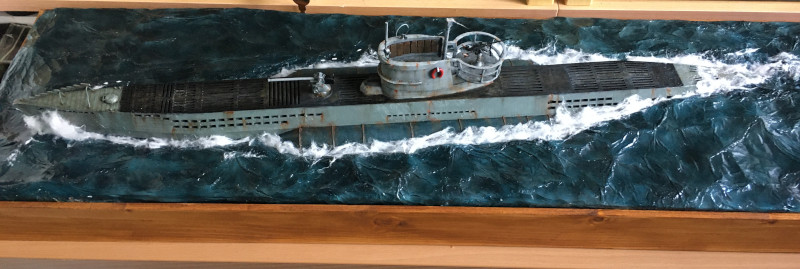
At the stern, cotton wool was brushed in thin strips along the crest of the waves to raise them and give the impression of the water being whipped up by the propulsion of the u-boat.
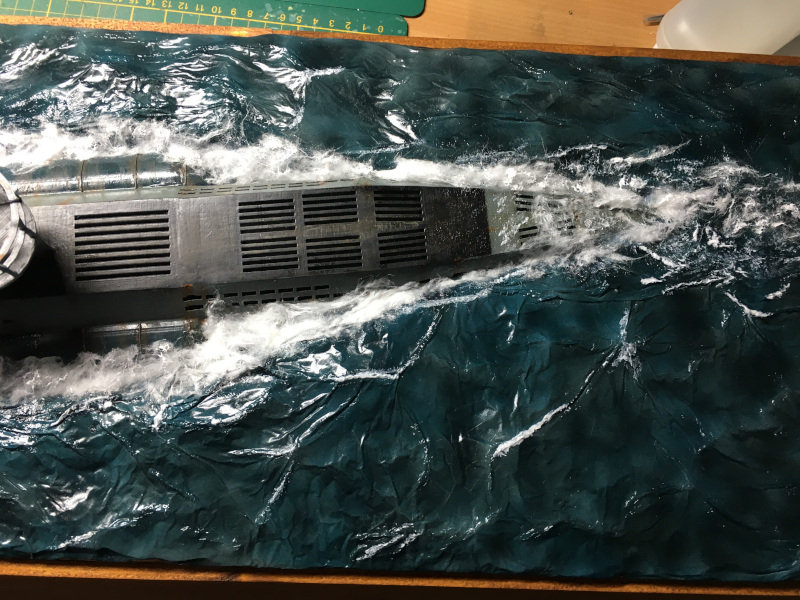
More cotton wool but this time brush across the stern to simulate the water and waves still flowing over the stern of the u-boat as it rises to the surface. Random waves along the base were also given a topping of the gel medium and sometimes even a very thin sliver of cotton wool to simulate the waves rolling out from the side of the u-boat.

Selected parts of the cotton wool waves were then treated with a small amount AK-Interactive Water Foam to give the waves a bit more foam body. More layers of Extra Heavy Gel Medium were pulled from the water holes as these would have more water running from them.
The base needs something more. I thought of putting the u-boat name on the frame, but since I wanted a generic u-boat, that wouldn't do. But the Kriegsmarine had a u-boat badge, that would do. I'd seen another video where the guy had reverse printed the name of a ship and using decoupage glue, had stuck it onto the diorama frame. Once dry, he rubbed at it with a damp cloth. The paper came away leaving the faded name of the ship behind. I thought that was a good idea and gave it a try on some spare pieces of wood. Not sure whether it was the glue, the ink, or the paper I was using, but the result was really disappointing.
More searching on the internet led me to a US shop that sold the u-boat badge that could be used on a model base. But they had zero in stock, and COVID disruptions meant it would have taken over 6 weeks to arrive and cost more than the badge just to ship it. Clearly not an option, I'd hoped to have the model finished for Christmas.
That did lead me to another option. Buying a replica of the badge and either cutting the fastenings off the back or making a cast of it and using that to create my own badge. I ordered one u-boat badge from Epic Militaria in England and hoped that it wouldn't be stuck at some port or customs since by now there were travel restrictions all over the place and parcels were getting heavily delayed due to COVID.
Fortunately, it did arrive after a slight delay. I refamiliarised myself with Blue Stuff from Green Stuff World. I made my mould of the u-boat badge. Now I had to decide what to make the badge from. Plastic Putty was a complete waste of time, DAS was too brittle, but Milliput was almost perfect. I say almost because the little I had left was quite old and I didn't get a perfect mix of the components. Still, the result was good enough.
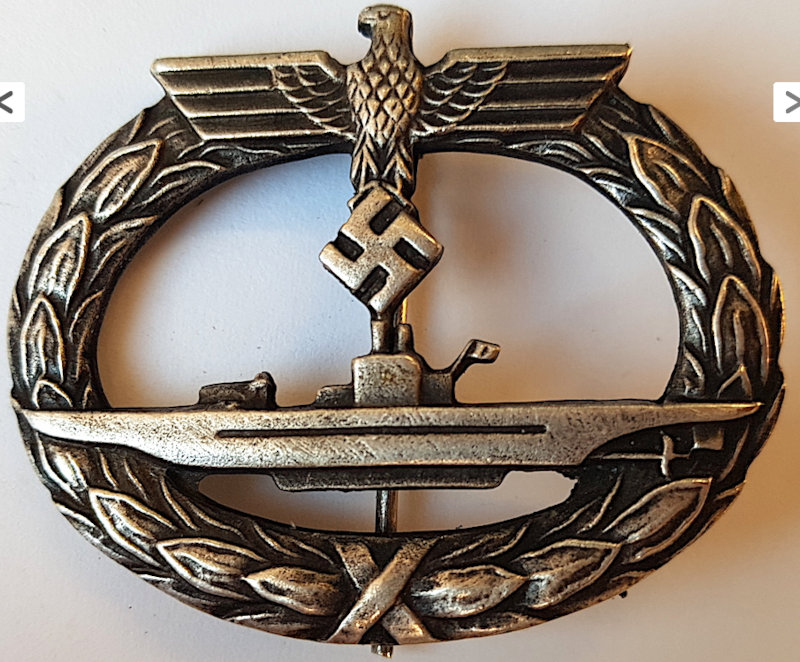
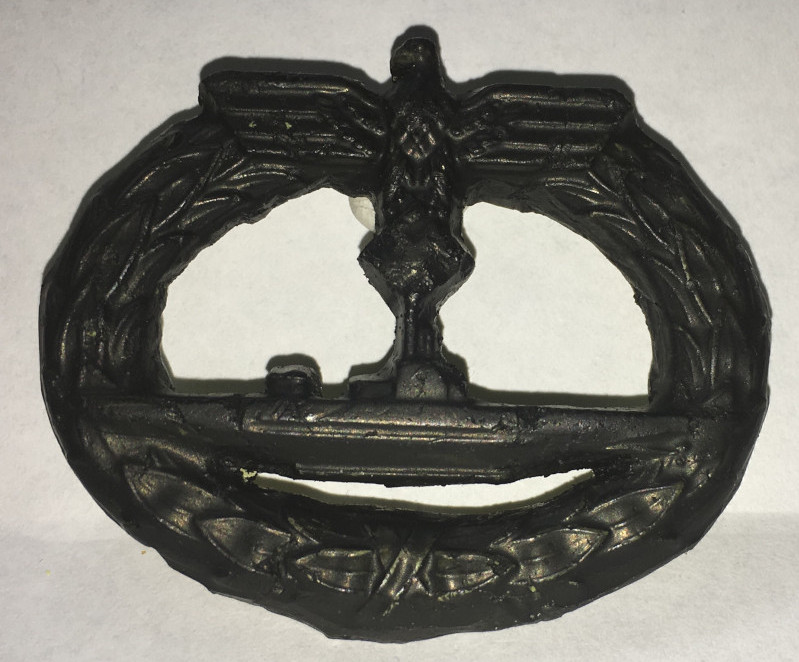
The real u-boat badge from the Epic Militaria web site and my Milliput cast undercoated in black.
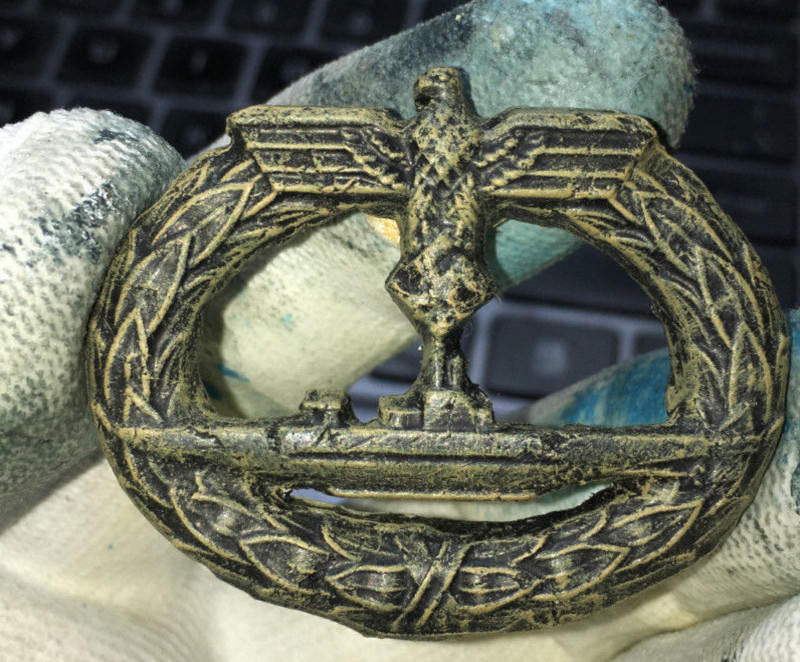
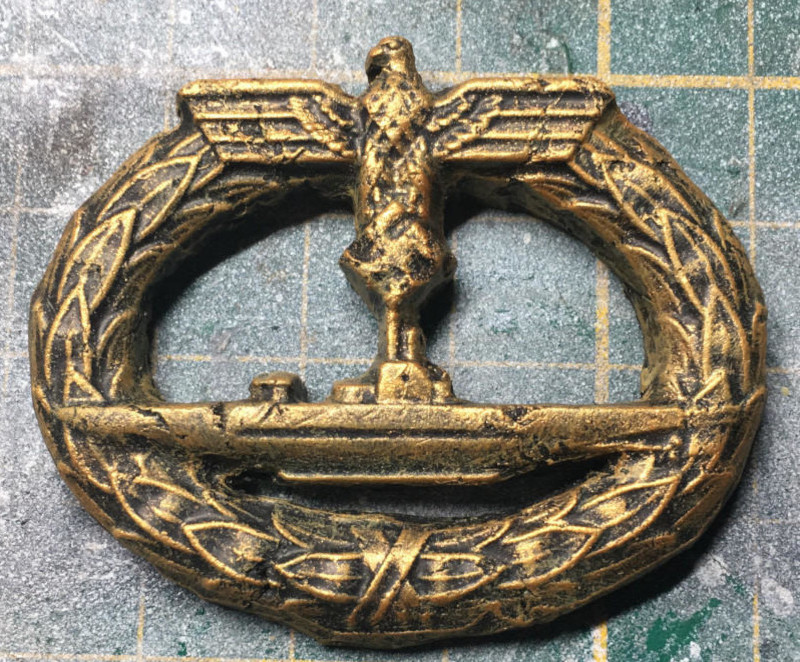
The badge given a Desert Yellow drybrush and then finished off with a drybrush of Greedy Gold, both from Army Painter. I thought it captured the original quite well and would fit perfectly with the representation of a u-boat.
All that was left to do was glue the badge to the front of the frame.
The Youtube video I referred to for the sea diorama can be found here: Scale-a-ton's channel - https://www.youtube.com/watch?v=aoAaodEqO0g