So, all the pieces were painted. Now I only had to find a way to display them together. I found an unused photo frame that was the right size.
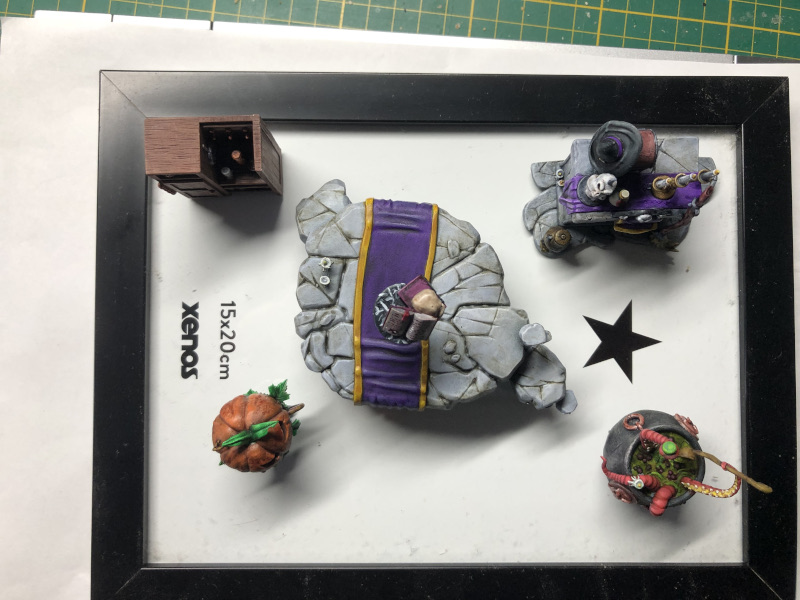
Potential layout of the scene. However, I couldn't just plonk everything down on the base. I needed to make it look like the cave a witch would have.
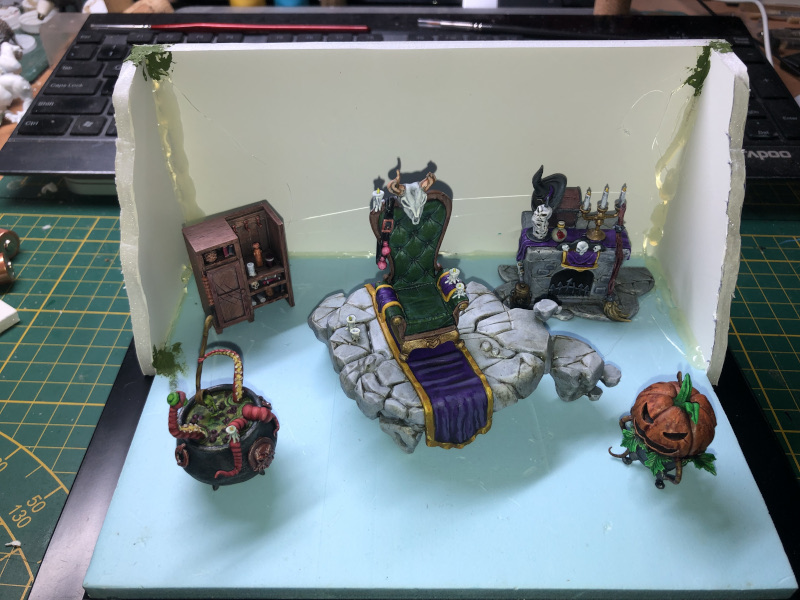
With some pieces of foamboard I had lying around and some XPS foam, I created a frame inside the frame for the base to fit on. A couple of minutes with a hot-glue gun, and it was starting to look how I imagined it. I also finalised the layout of the pieces.
The base needed to be built up to make it look like the inside of a cave.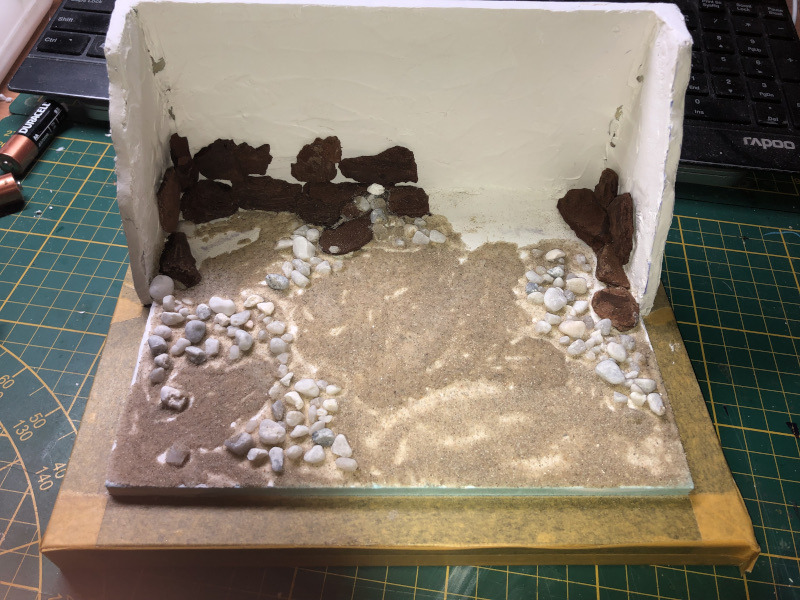
That old favourite of PVA and sand was used for the ground, then I added several little stones to look like rocks on the floor. I covered all the walls with quick-drying wall filler. I then glued some pieces of tree bark onto the inside of the walls while leaving enough space for the pieces to fit. Then I used PVA and sand on the walls to give them a bit more texture.
The cave would be grey, different shades of grey.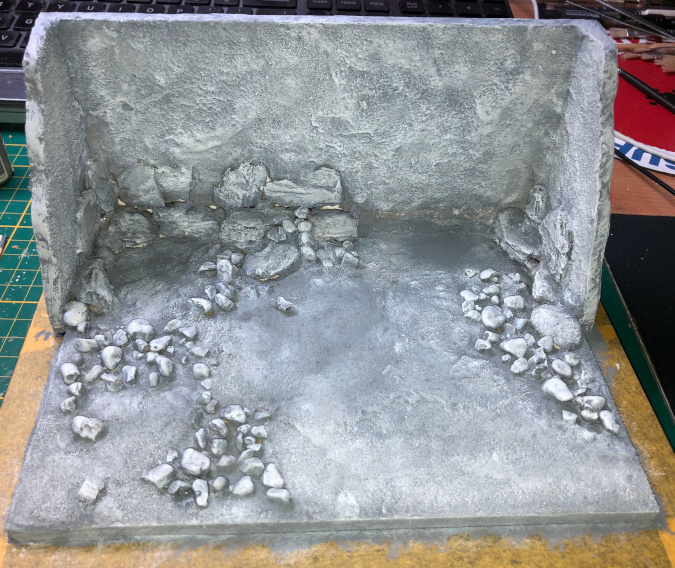
I used a small pipette to drip colour into the gaps where the brush couldn't reach. I then sealed the whole base with varnish in preparation for the next stage. This was the addition of various enamel washes to give colour and grime to the rocks and areas of the walls. A bit of dry brushing and the cave was complete. All that remained was to fix all the pieces into place.
Below are photos of the finished diorama.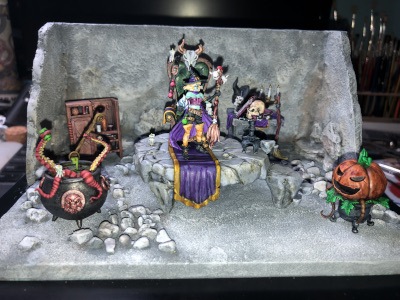
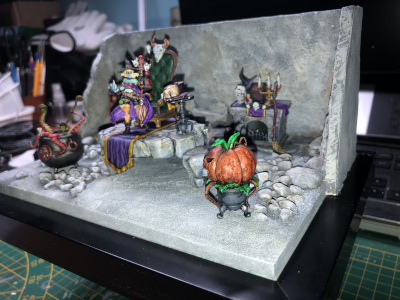
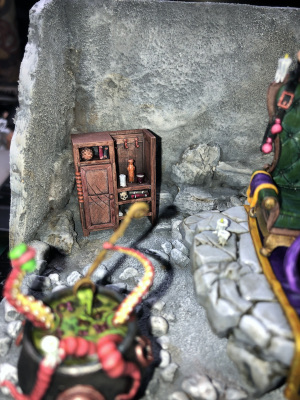
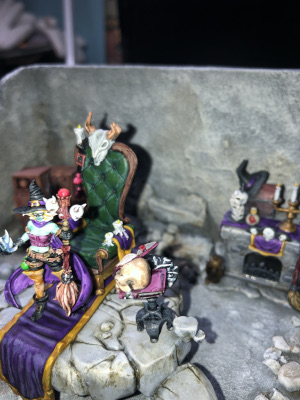
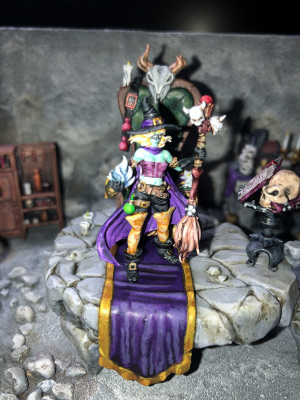
The shadows caused by the flash actually make some of these photos quite atmospheric.
At the end of the day, I'm pleased with the result. And so is my wife, which is the more important thing. She's happy with her Halloween present.