The final touches involved painting the base and bottom of the bust with One-Shot Black Primer. This dries quickly and gives a very flat, even surface.
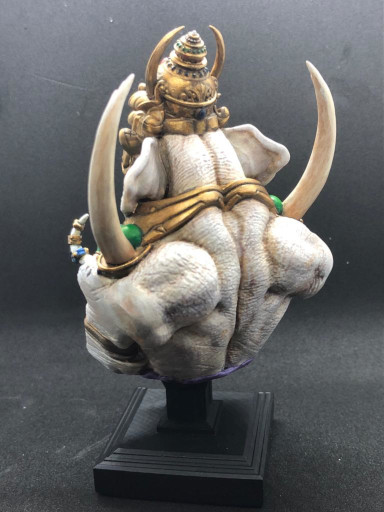
It was then that I noticed that on Ganesha's tusks were some marks, which I simply thought were support scarring. But it seems to be that Ganesha is often depicted with some sort of tattoo on his body and tusks. So, a tattoo it was. As carefully as I could I very gently gave these protrusions a dab of the One-Shot Black.
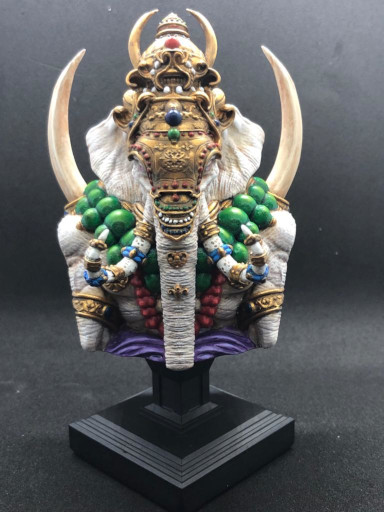


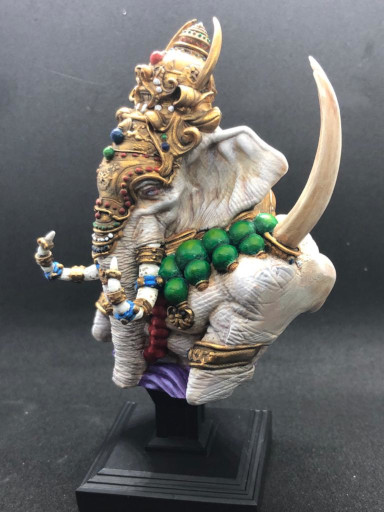
And there you have it ... until I realised I hadn't varnished the piece. I gave the base and all the metal elements a coat of Lucky Glossy Varnish, and the rest a coat of Lucky Matt Varnish, both from the Ammo Mig range.
All varnished and protected. The jewels/gems really pop out now.
As a very last touch, I cut a piece of green felt I had lying around and glued it to the bottom of the base so that there would be a smooth surface and the model wouldn't cause any damage to anything it was placed on. Also, I think it looks a lot better.
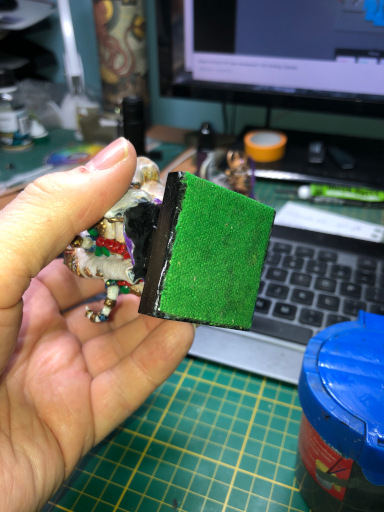
Felt is glued to the bottom and then trimmed to size.
The bust was now ready to be delivered. Did I get it done in time? Well, it was painted before Christmas, but the varnishing and the felt were added after Christmas. Once it became clear there was no way I'd be seeing the person it was for until the new year, the pressure was off. But I did get it all done before the year-end. I count that as a win.