The first task was to prime the model using a zenithal highlight. This was achieved by first spraying the entire model in Black One-Shot Primer using the airbrush. Once that was dry I then sprayed Grey One-Shot Primer on the model from an angle of about 45 degrees. This meant that only the very underneath would be left black. Finally, I used, yep, White One-Shot Primer from directly above. All of the One-Shot primers were from the Ammo Mig range.
This left me with a model that had a good semblance of where the shadow and highlights would be, excellent for the next stage - applying the colours.
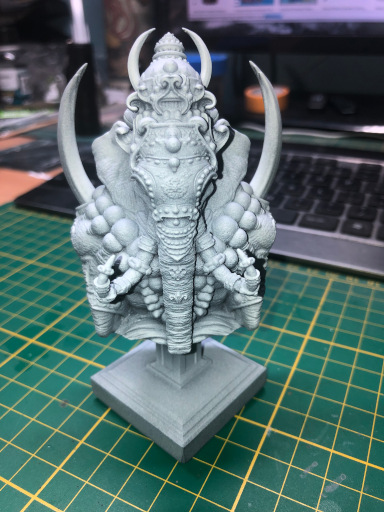
The zenithal priming applied to the bust. Unfortunately, the flash on the camera did a lot to bleed the differences out.
I decided to start with the body first. Since I'd chosen white as the skin colour for this Ganesha, I used a couple of thin washes of white to help build up the volume and depth of the model. The zenithal priming made it easier to determine where the highlights and shadows should be.
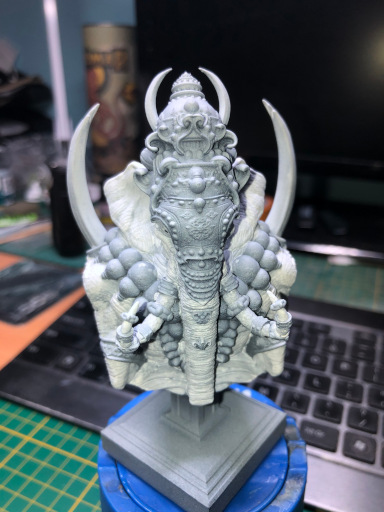
Basic skin colour applied.
Next, I applied some Army Painter Soft Tone wash to the white skin areas. This added tone and depth to the model. It also made it look a little ... pink/tan coloured. At this point, I could have decided that it was not going the way I had envisioned. However, I knew that in the following steps I would be doing some selective dry-brushed highlighting with white which would pull it all together.
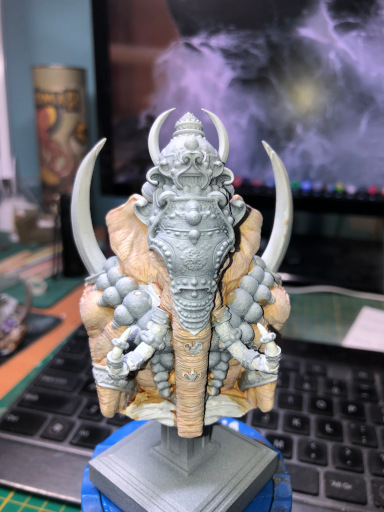
Front, after the Soft Tone wash was applied and the first dry-brush highlighting done.
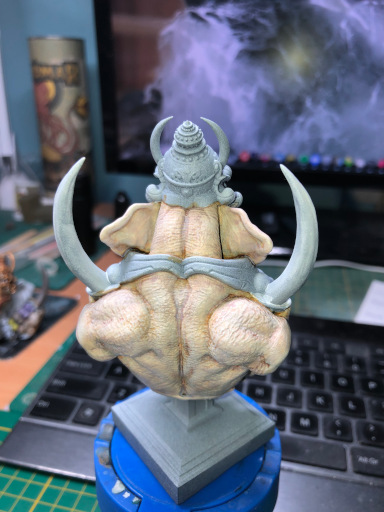
The rear better shows the combination of wash and dry-brushed highlights.